Build Log
Making CharlieBoard was a fun journey. On this page, you can see some of my milestones and read about what I learned along the way.
Short Reads
Other MBTA Display Projects
An overview of the MBTA API projects that inspired and informed CharlieBoard.
Read → Deep DiveWhy the Pi?
This project could run on a microcontroller, but here's why I chose to use a Pi.
Read → WorkflowTorturing KiCad with Maps
A step-by-step look at getting a real transit map from QGIS through Illustrator and onto a KiCad PCB silkscreen.
Read → Deep DiveAddressable LEDs for CharlieBoard
From LED matrices to WS2812B: how individual LED control actually works, and why it matters for CharlieBoard.
Read → WorkflowOrdering a CharlieBoard from JLCPCB
Ordering a CharlieBoard from JLCPCB is a straightforward process, but there are a few things to keep in mind.
Read →Project Timeline
-
CharlieBoard makes its way to London!
A good friend of mine (who happens to love the MBTA) lives in London, and she is a fantastic photographer. A few of these boards, and some American treats made their way to London!
During this time, I also built out this website so that CharlieBoard would have its own online presence. -
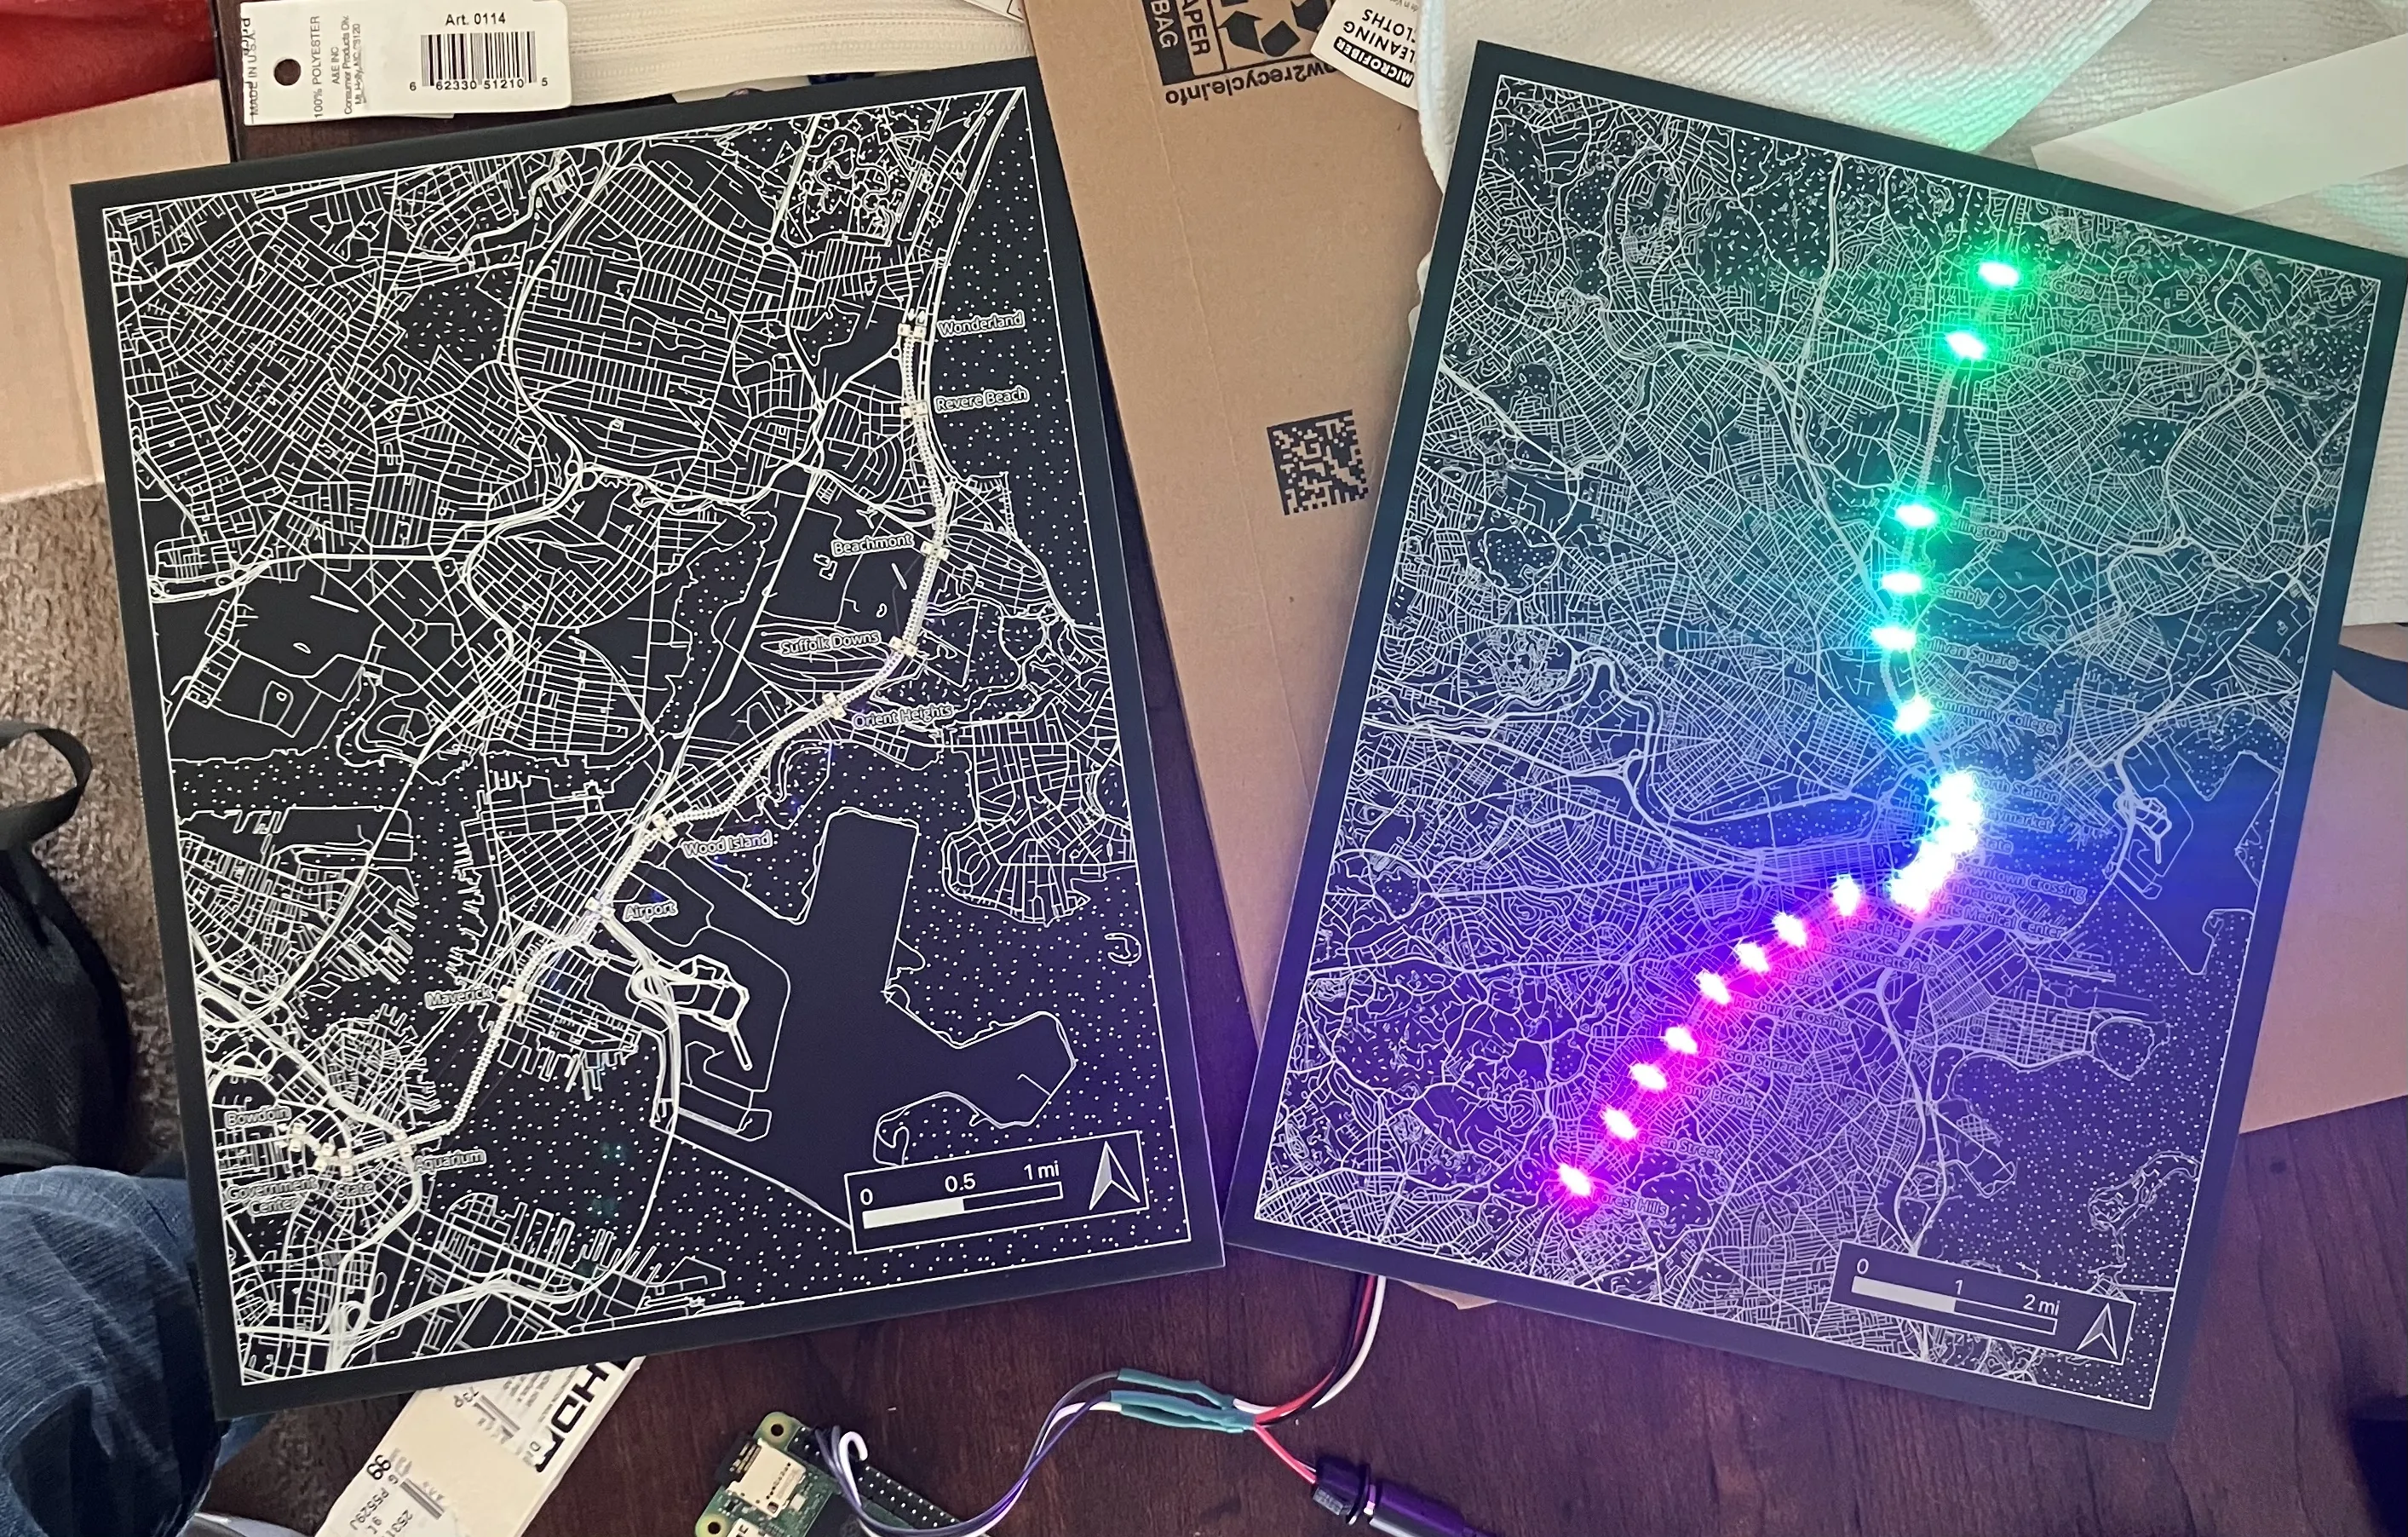
New PCBs arrive!
The Blue and Orange Line PCBs arrived and work! There may have been a small hiccup with the Blue Line board, but nothing a little solder couldn't fix.
-
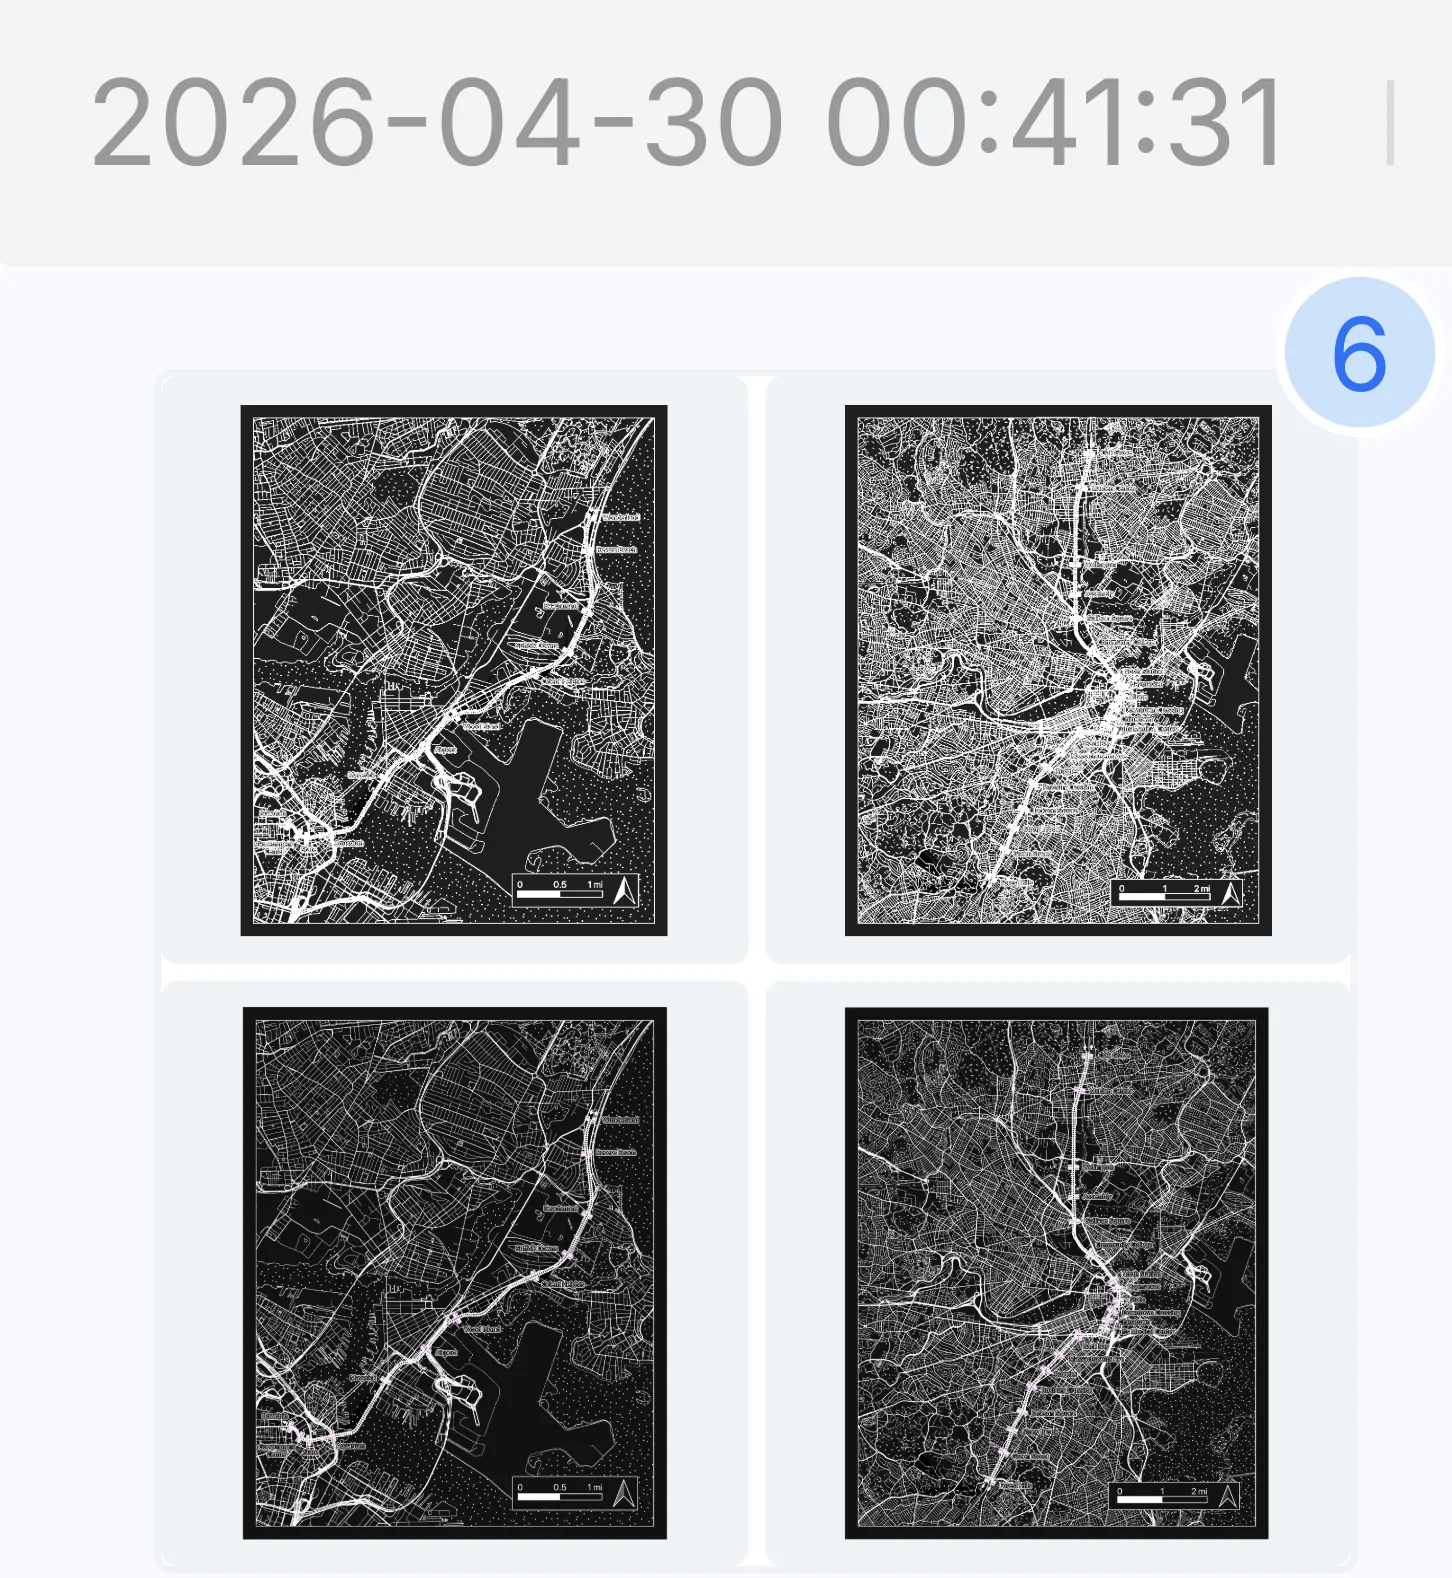
Blue and Orange Line Designs Ordered
Using the same process as the Red Line, I designed and ordered PCBs for the Blue and Orange Lines. Check out Ordering a CharlieBoard from JLCPCB for more information.
-
Documenting, documenting, documenting
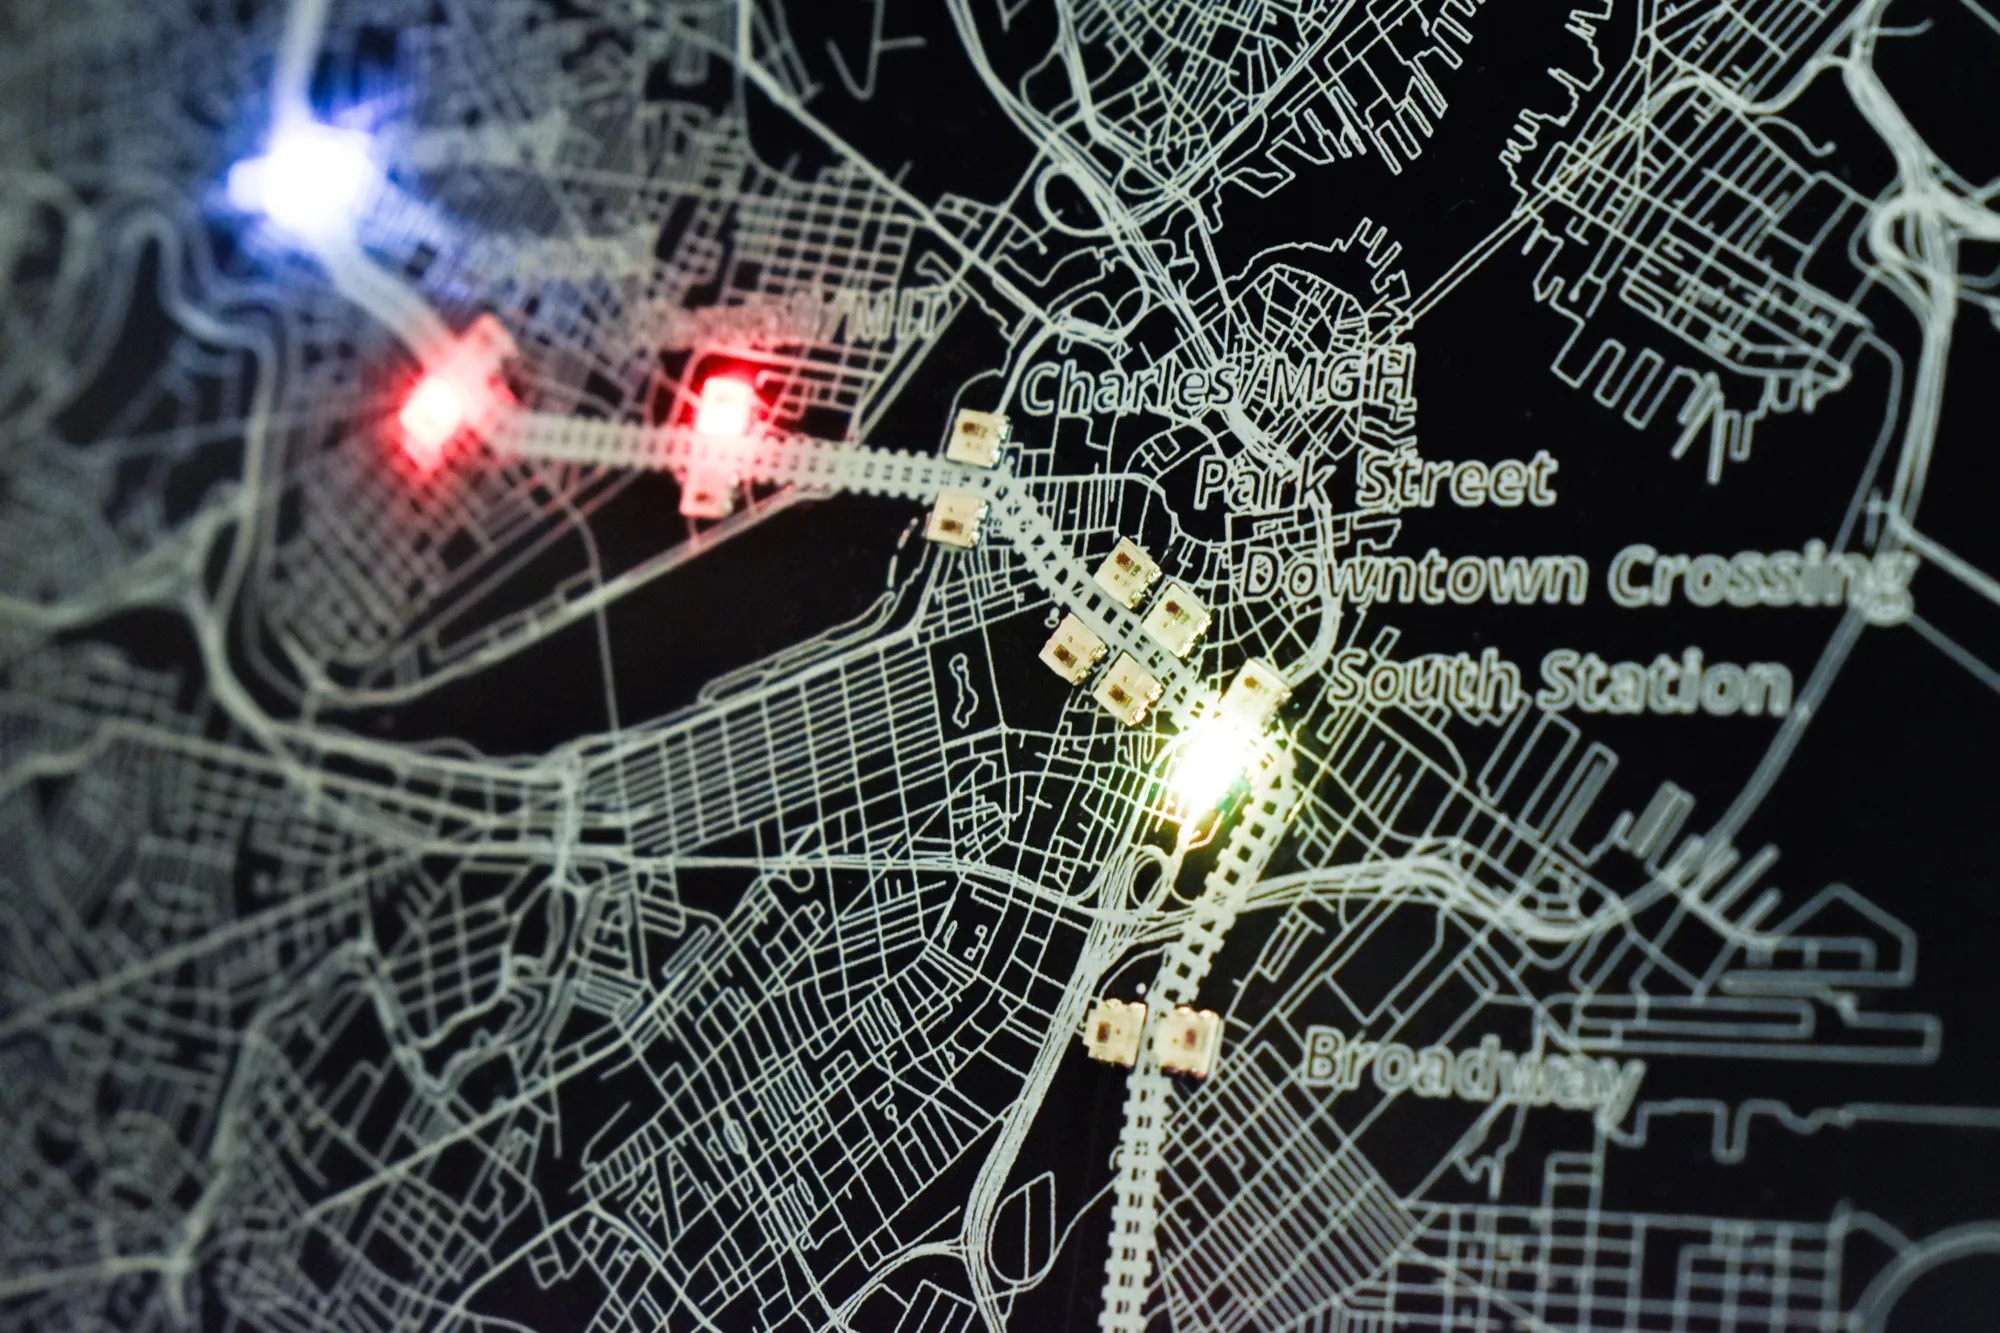
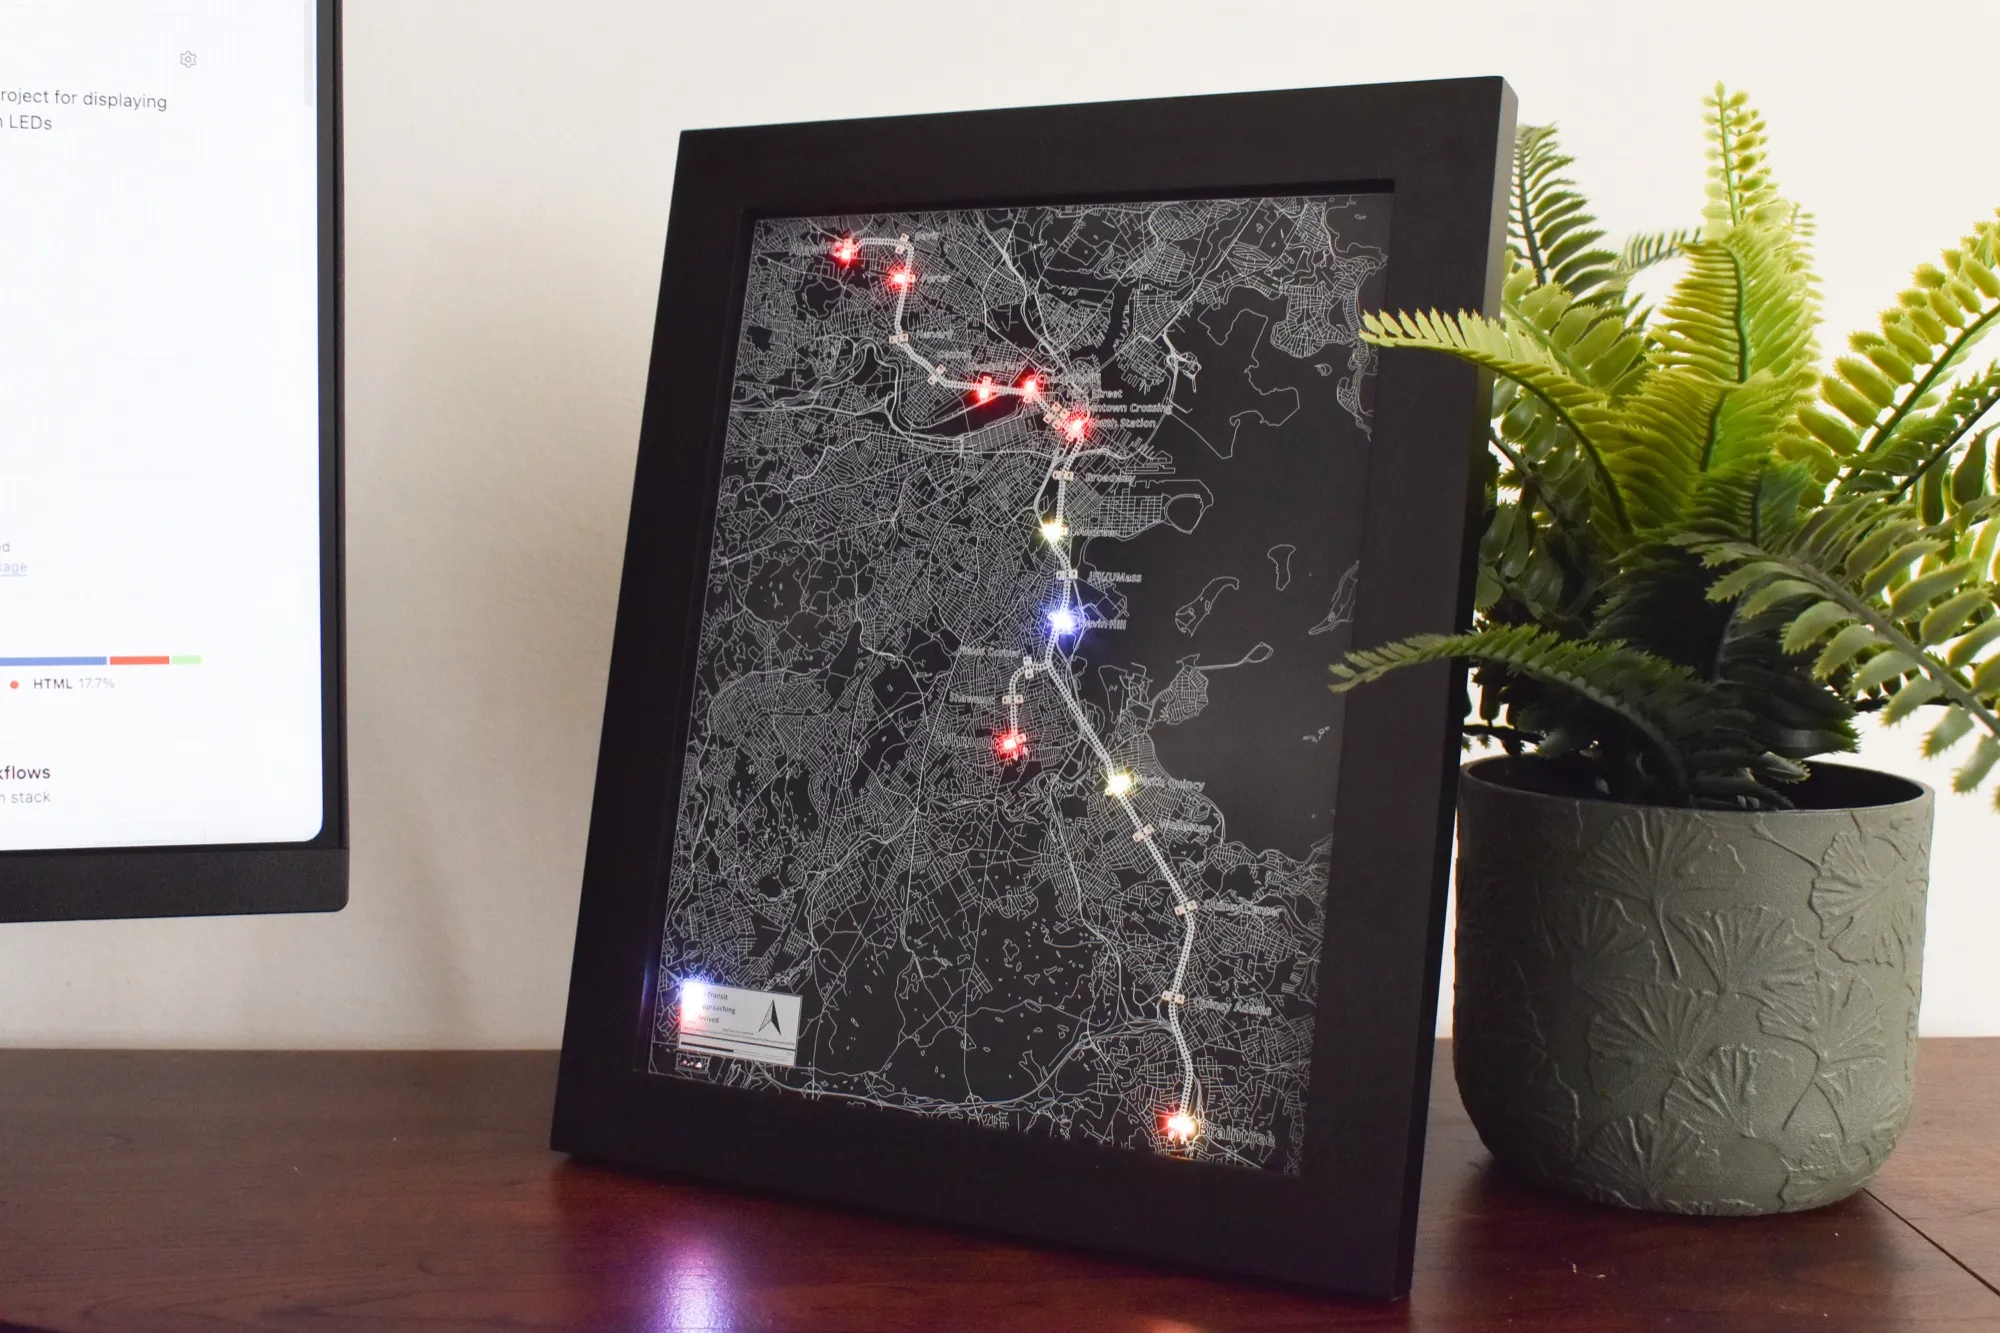
Having finalized the hardware and software, I worked on expanding the documentation for the project. I added a quick setup guide for the software suite, guides for mapmaking, and more.
-
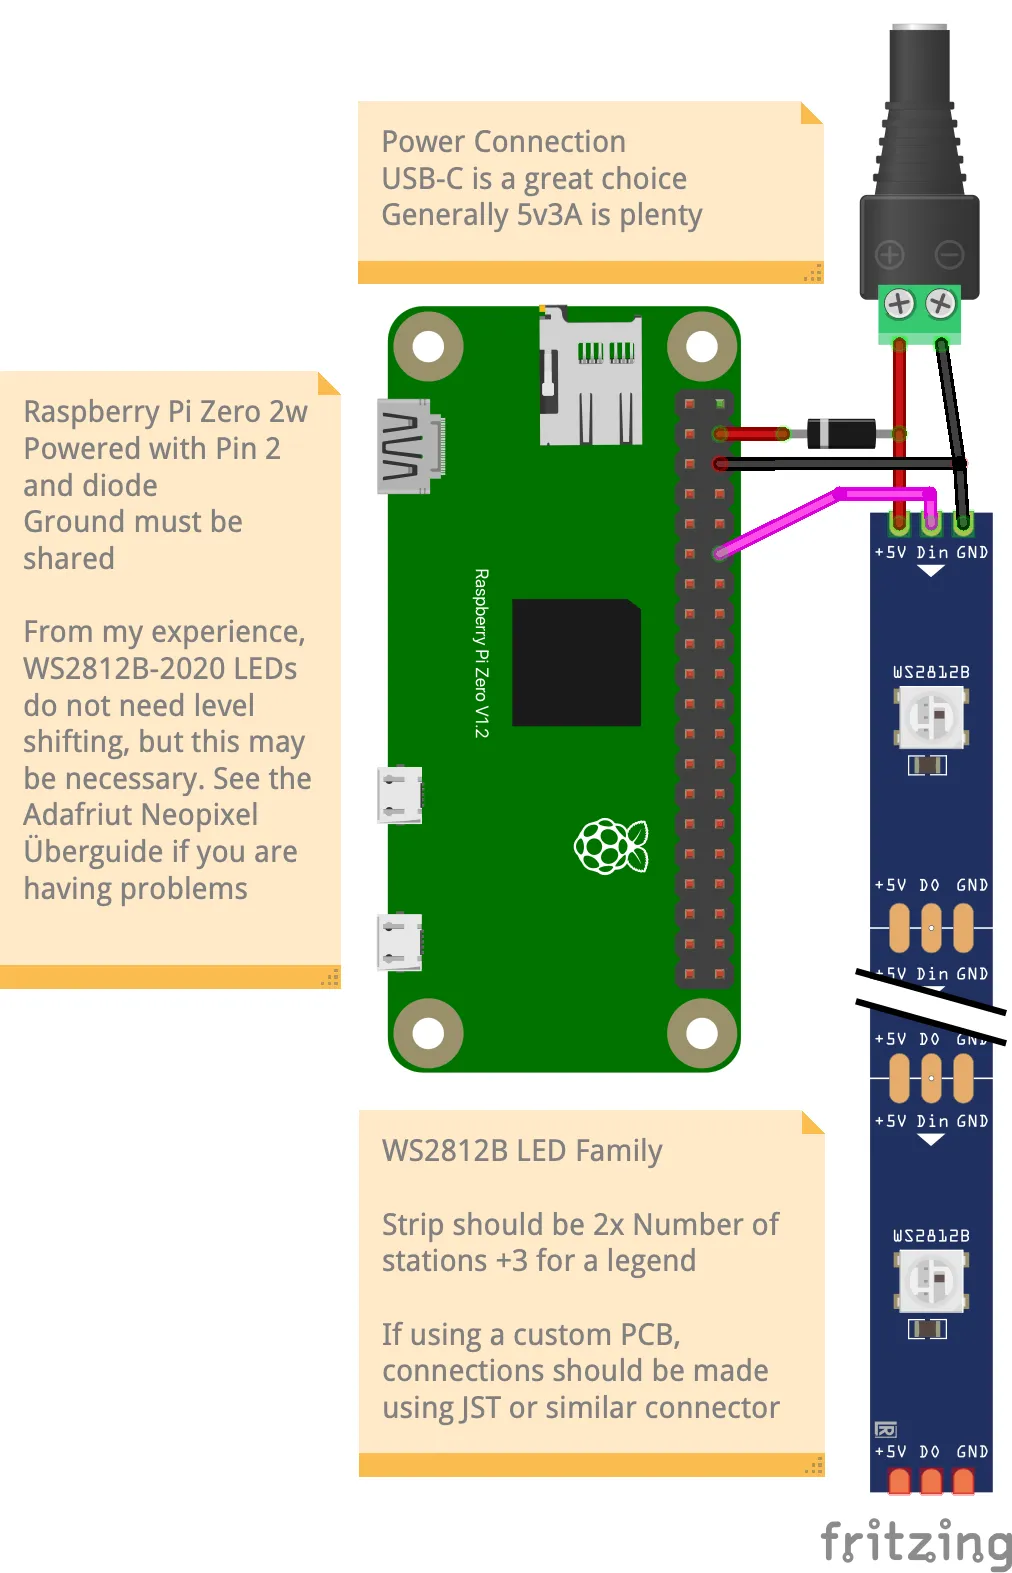
Moving to Pi Zero 2W
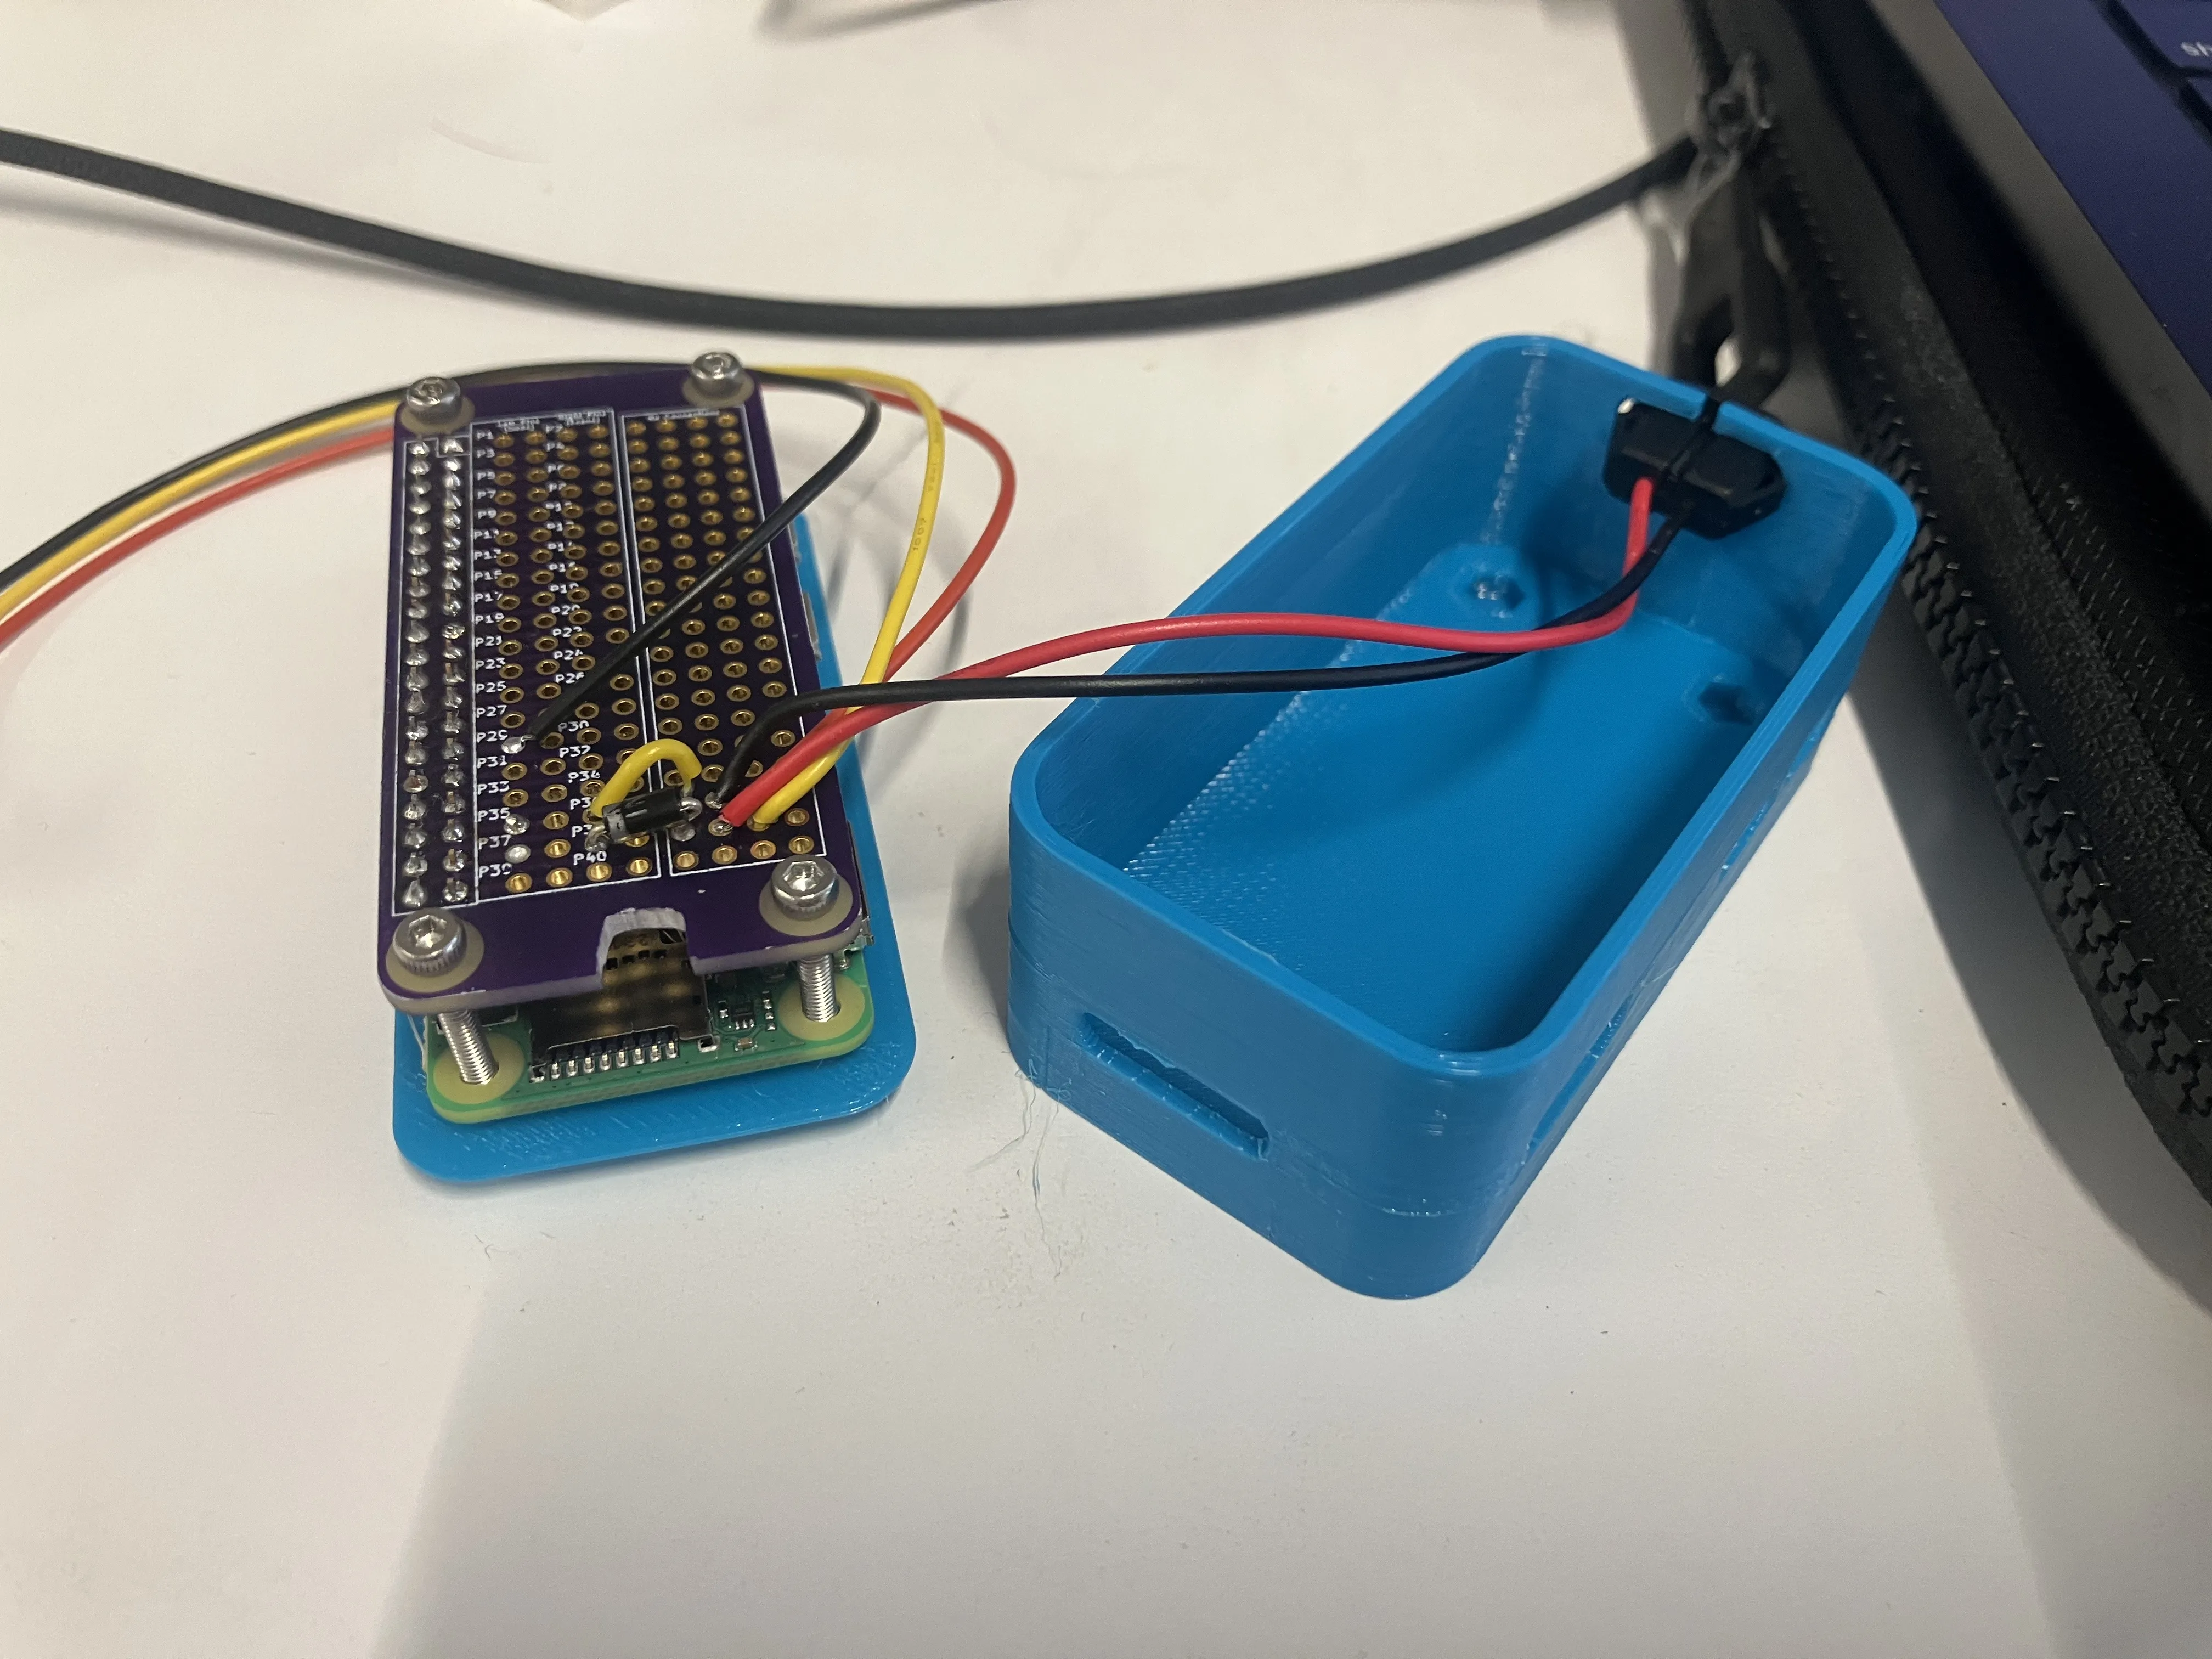
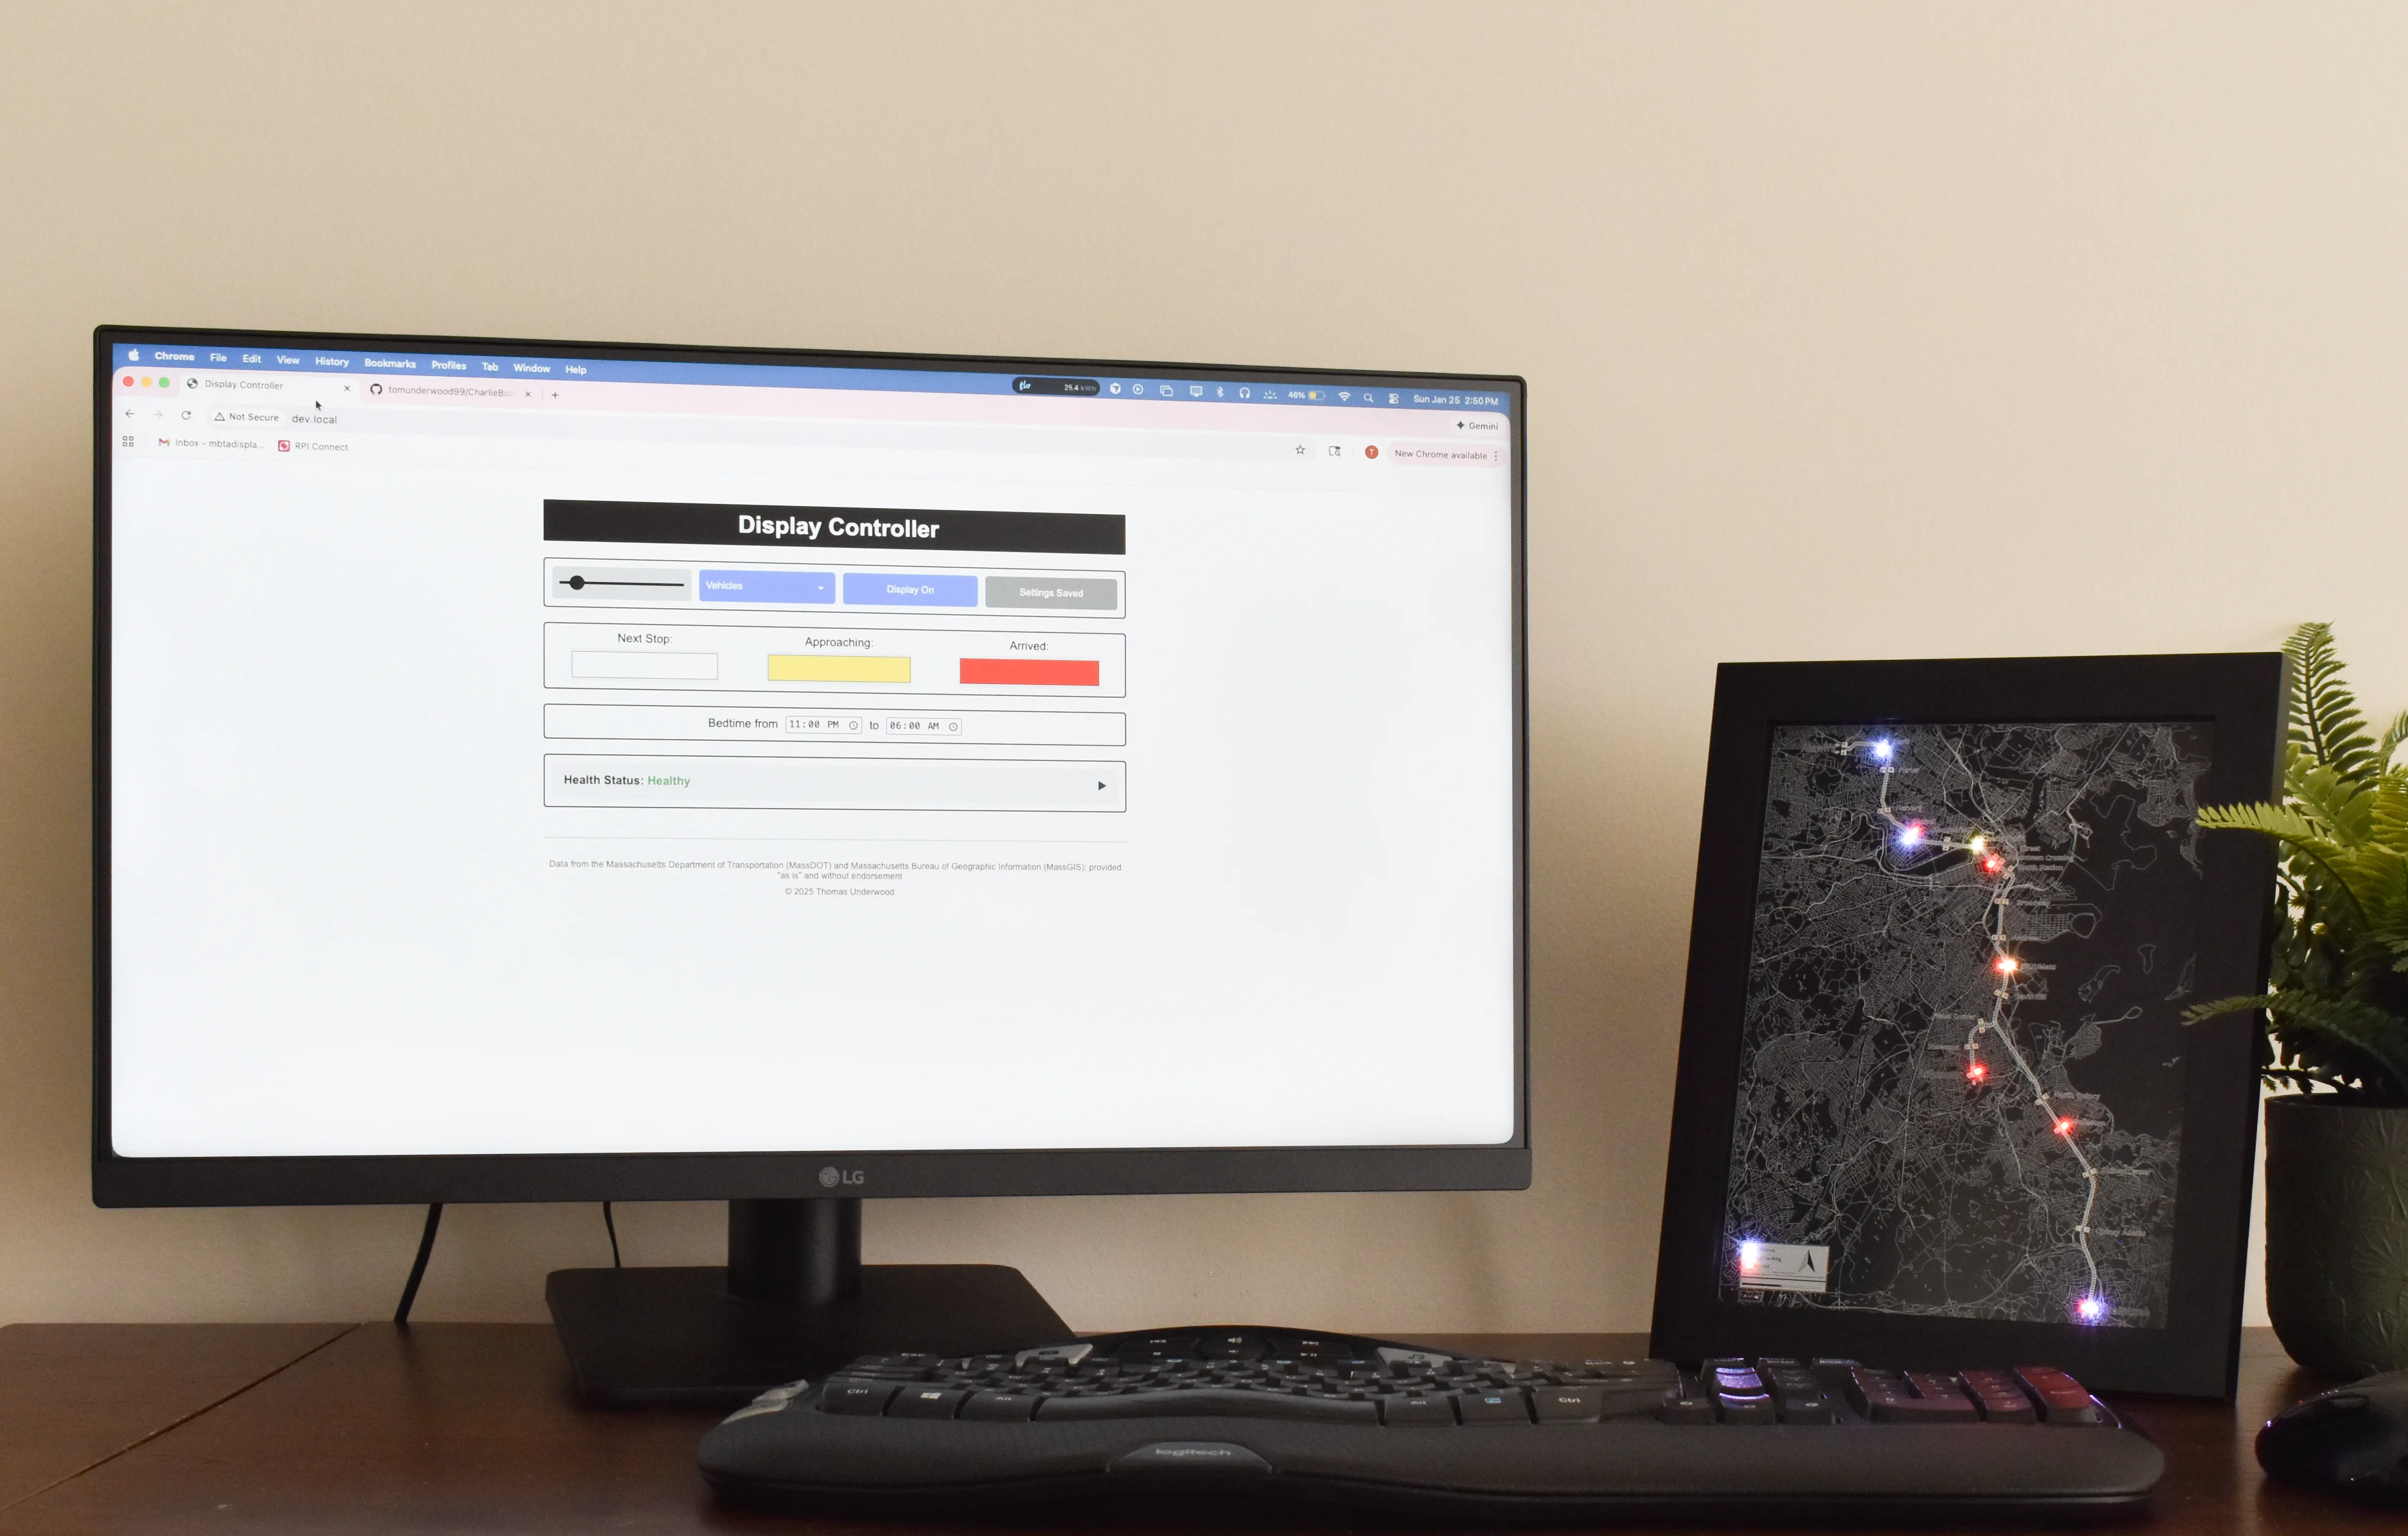
Throughout development, microcontroller memory was routinely an issue. At this point, I decided to pivot to a Raspberry Pi. This allowed me to add a web interface and other features that were previously impossible. For more information, check out Why the Pi?.
-
CharlieBoard's Final Form Factor
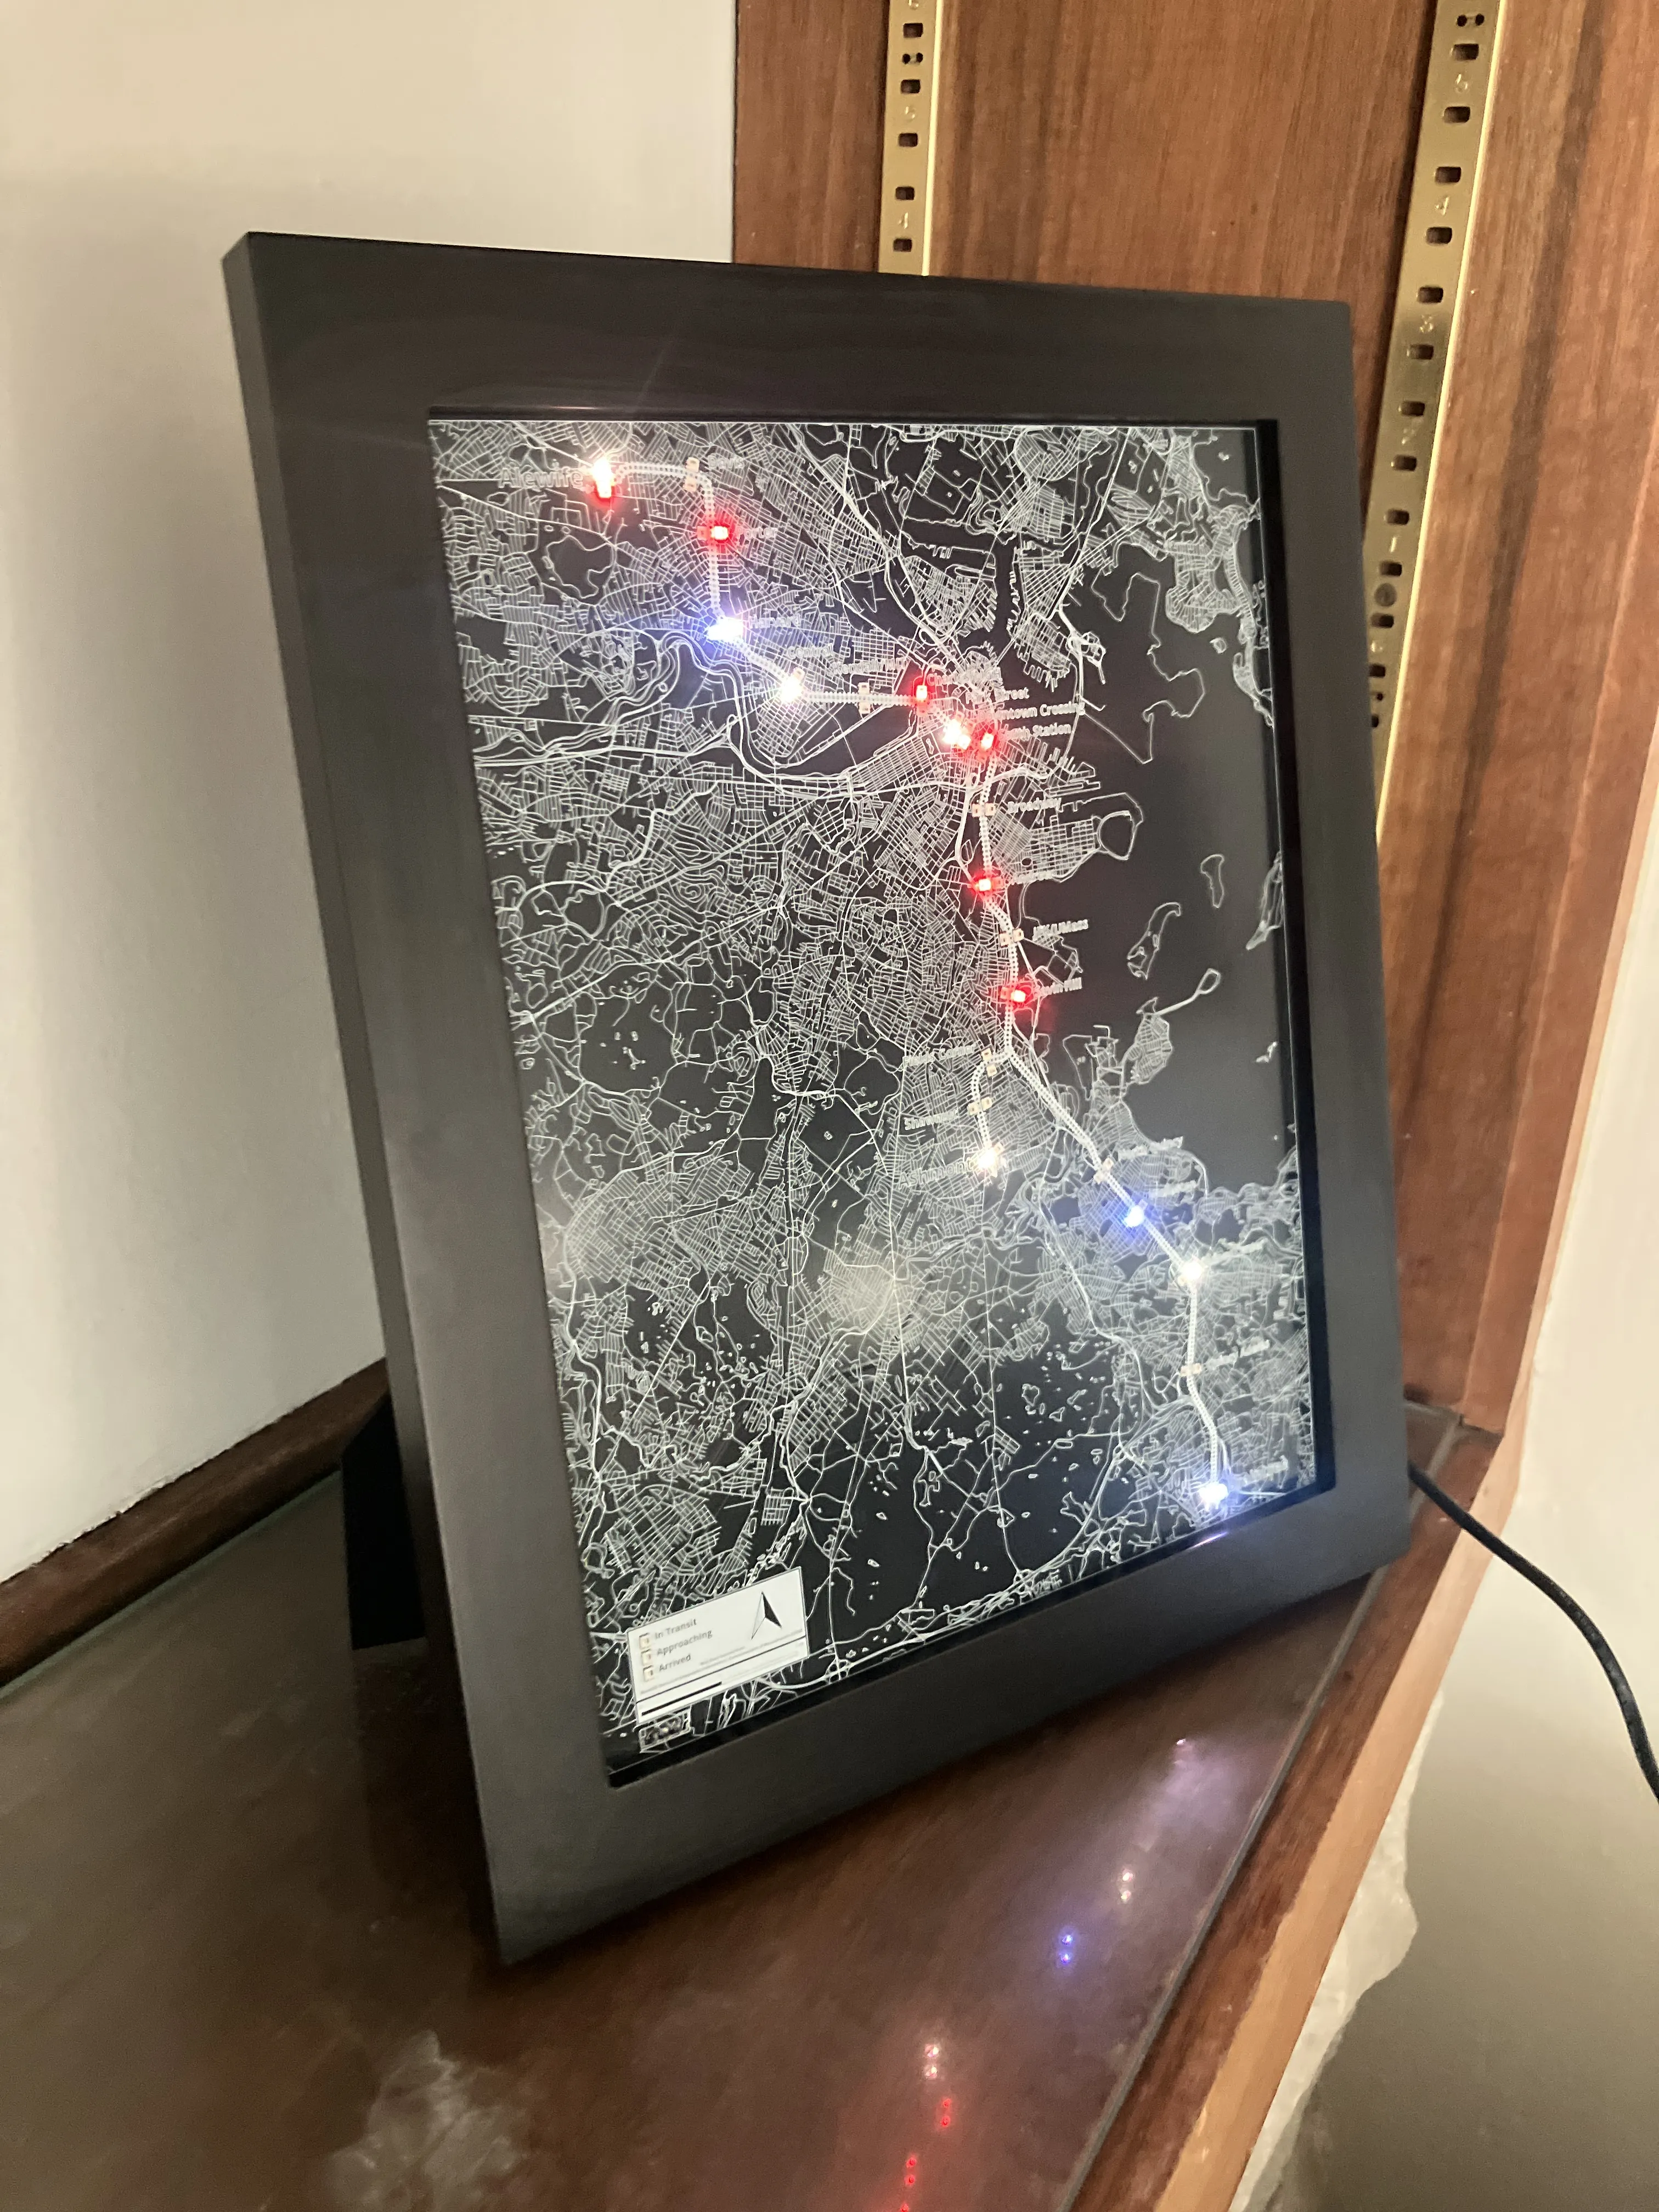
After thinking about the design for a while, I settled on making PCB maps with a single MBTA line. This allows me to keep the map details, while also having reasonable LED density. Using QGIS, Adobe Illustrator, and KiCad, I was able to finalize my design. For more information, check out Torturing KiCad with Maps.
-
Exploring Mapmaking
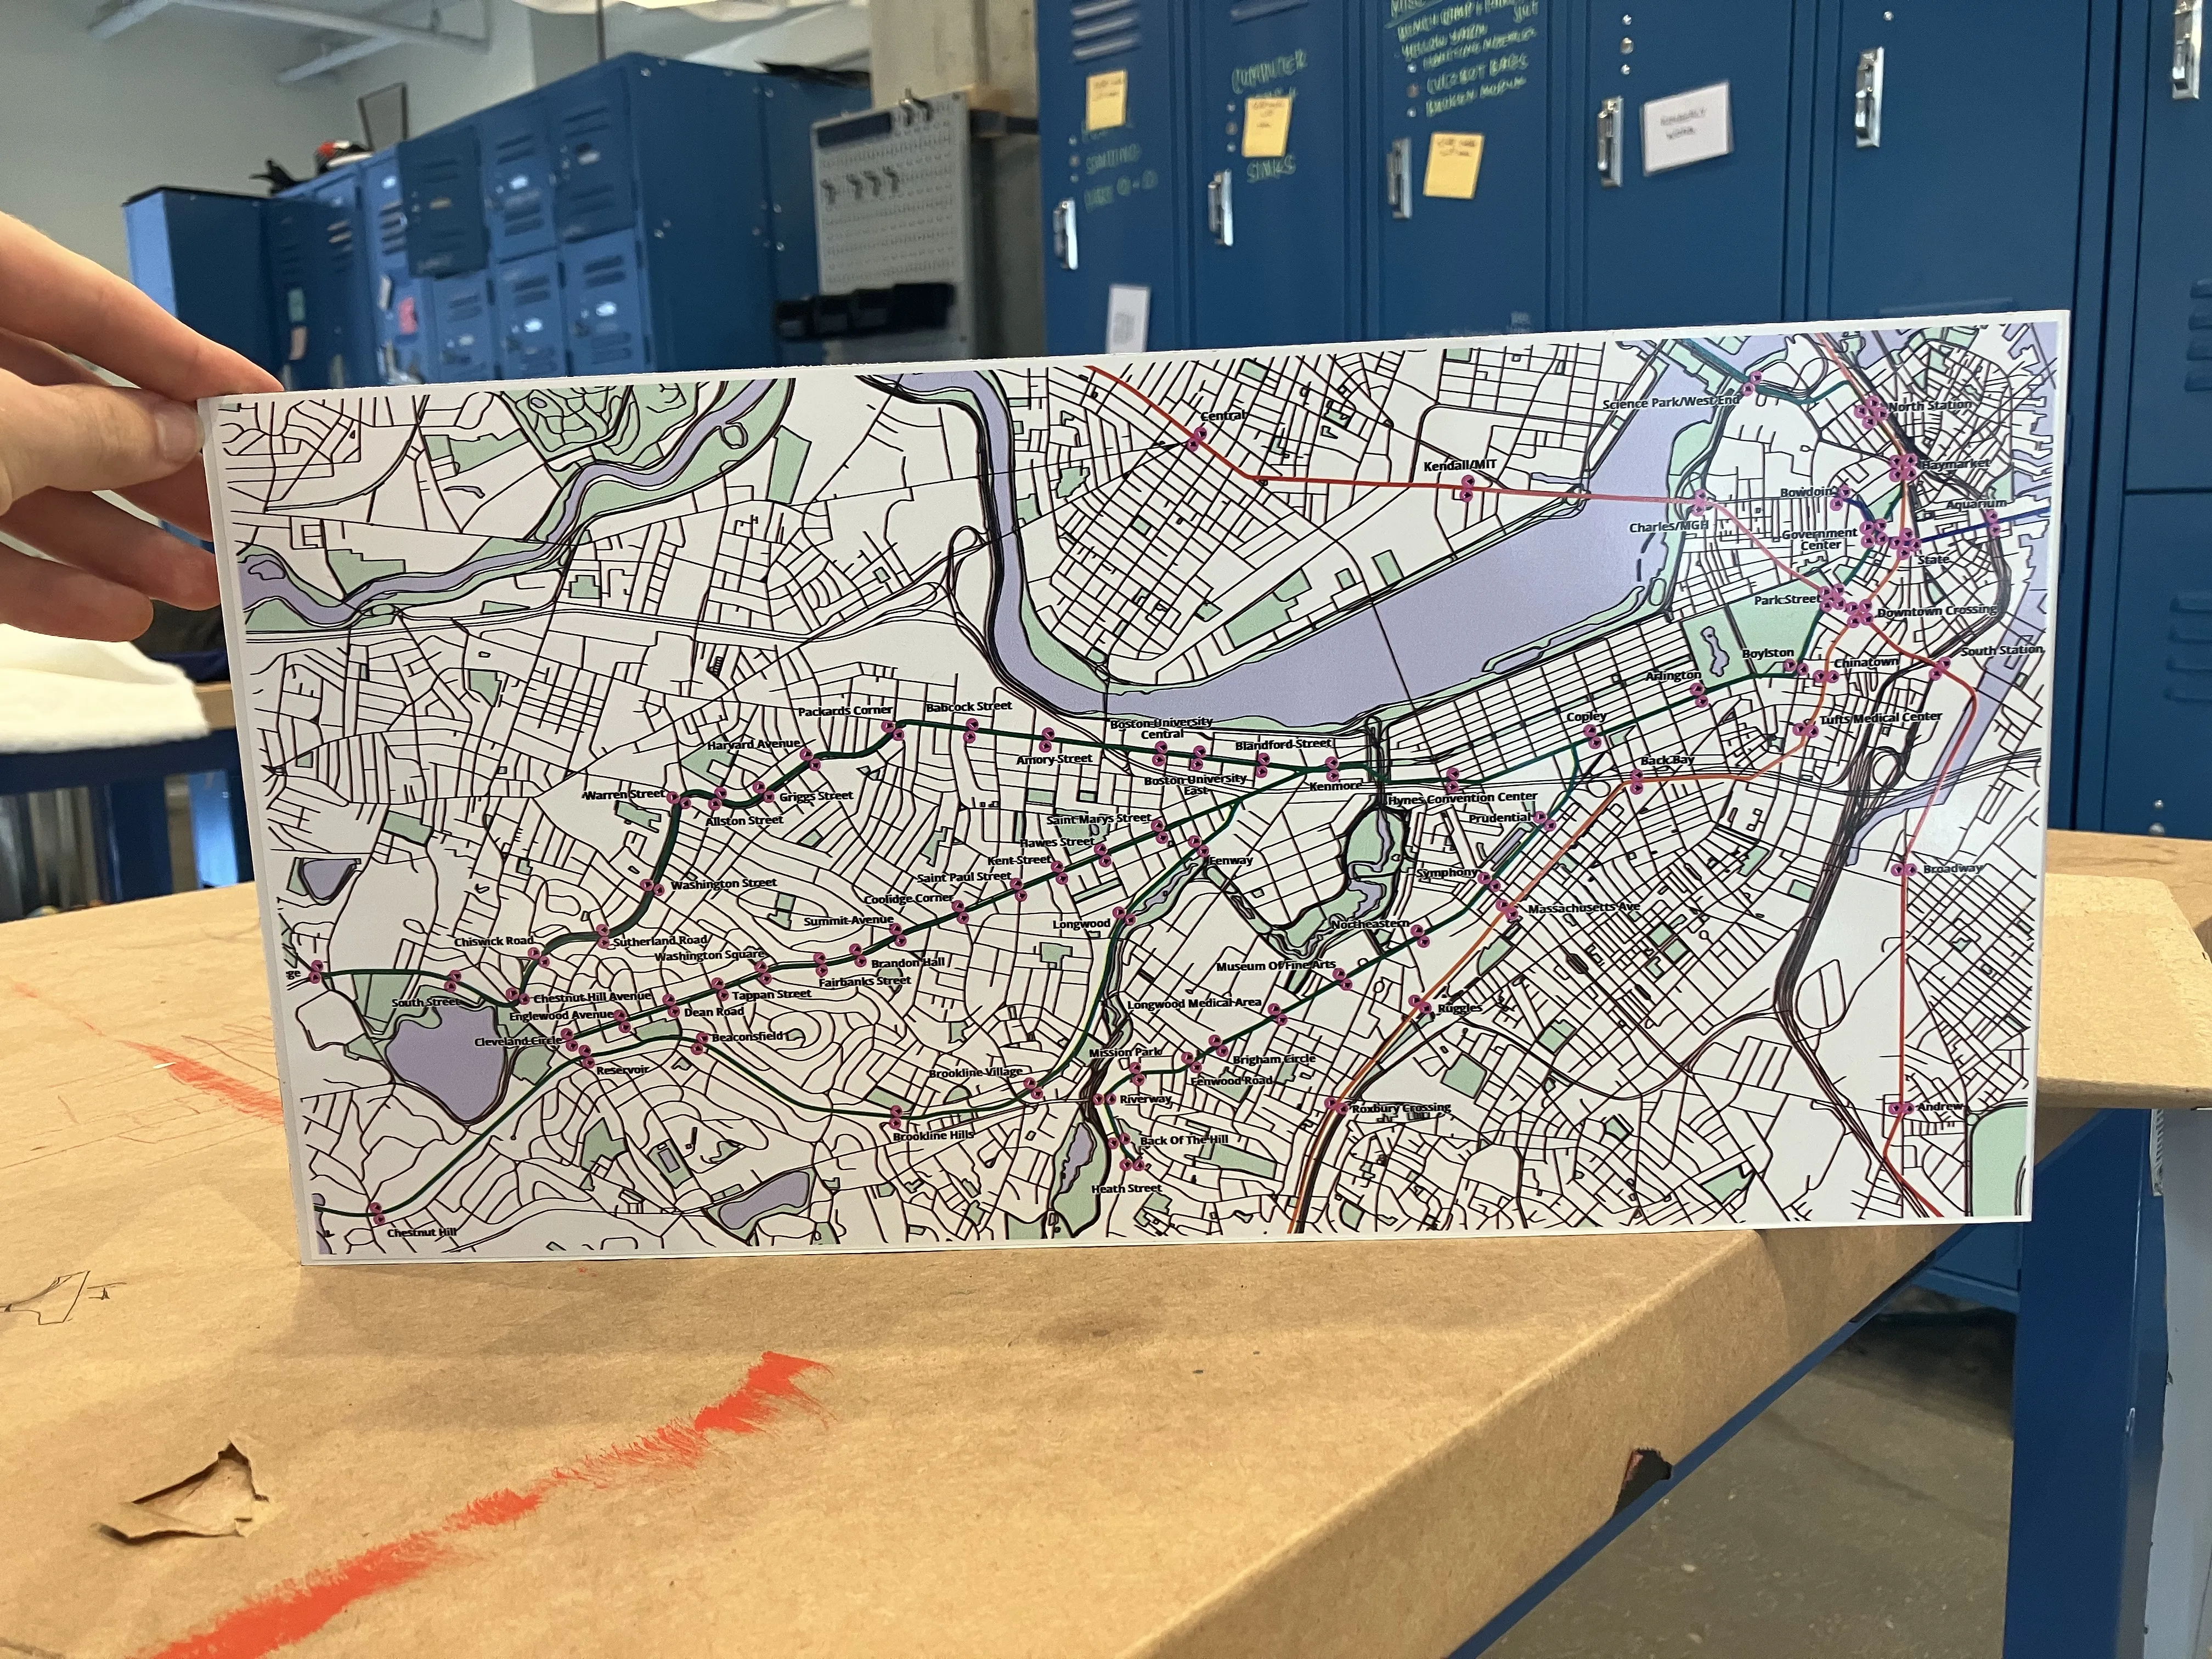
Seeing how clean and compact the PCB was, I wondered if putting the entire MBTA on a PCB was possible. After some testing, I realized that the station density was going to be a problem. Even using 2 mm LEDs, the map would need to be 4'x4' to maintain a reasonable density.
-
My First PCB
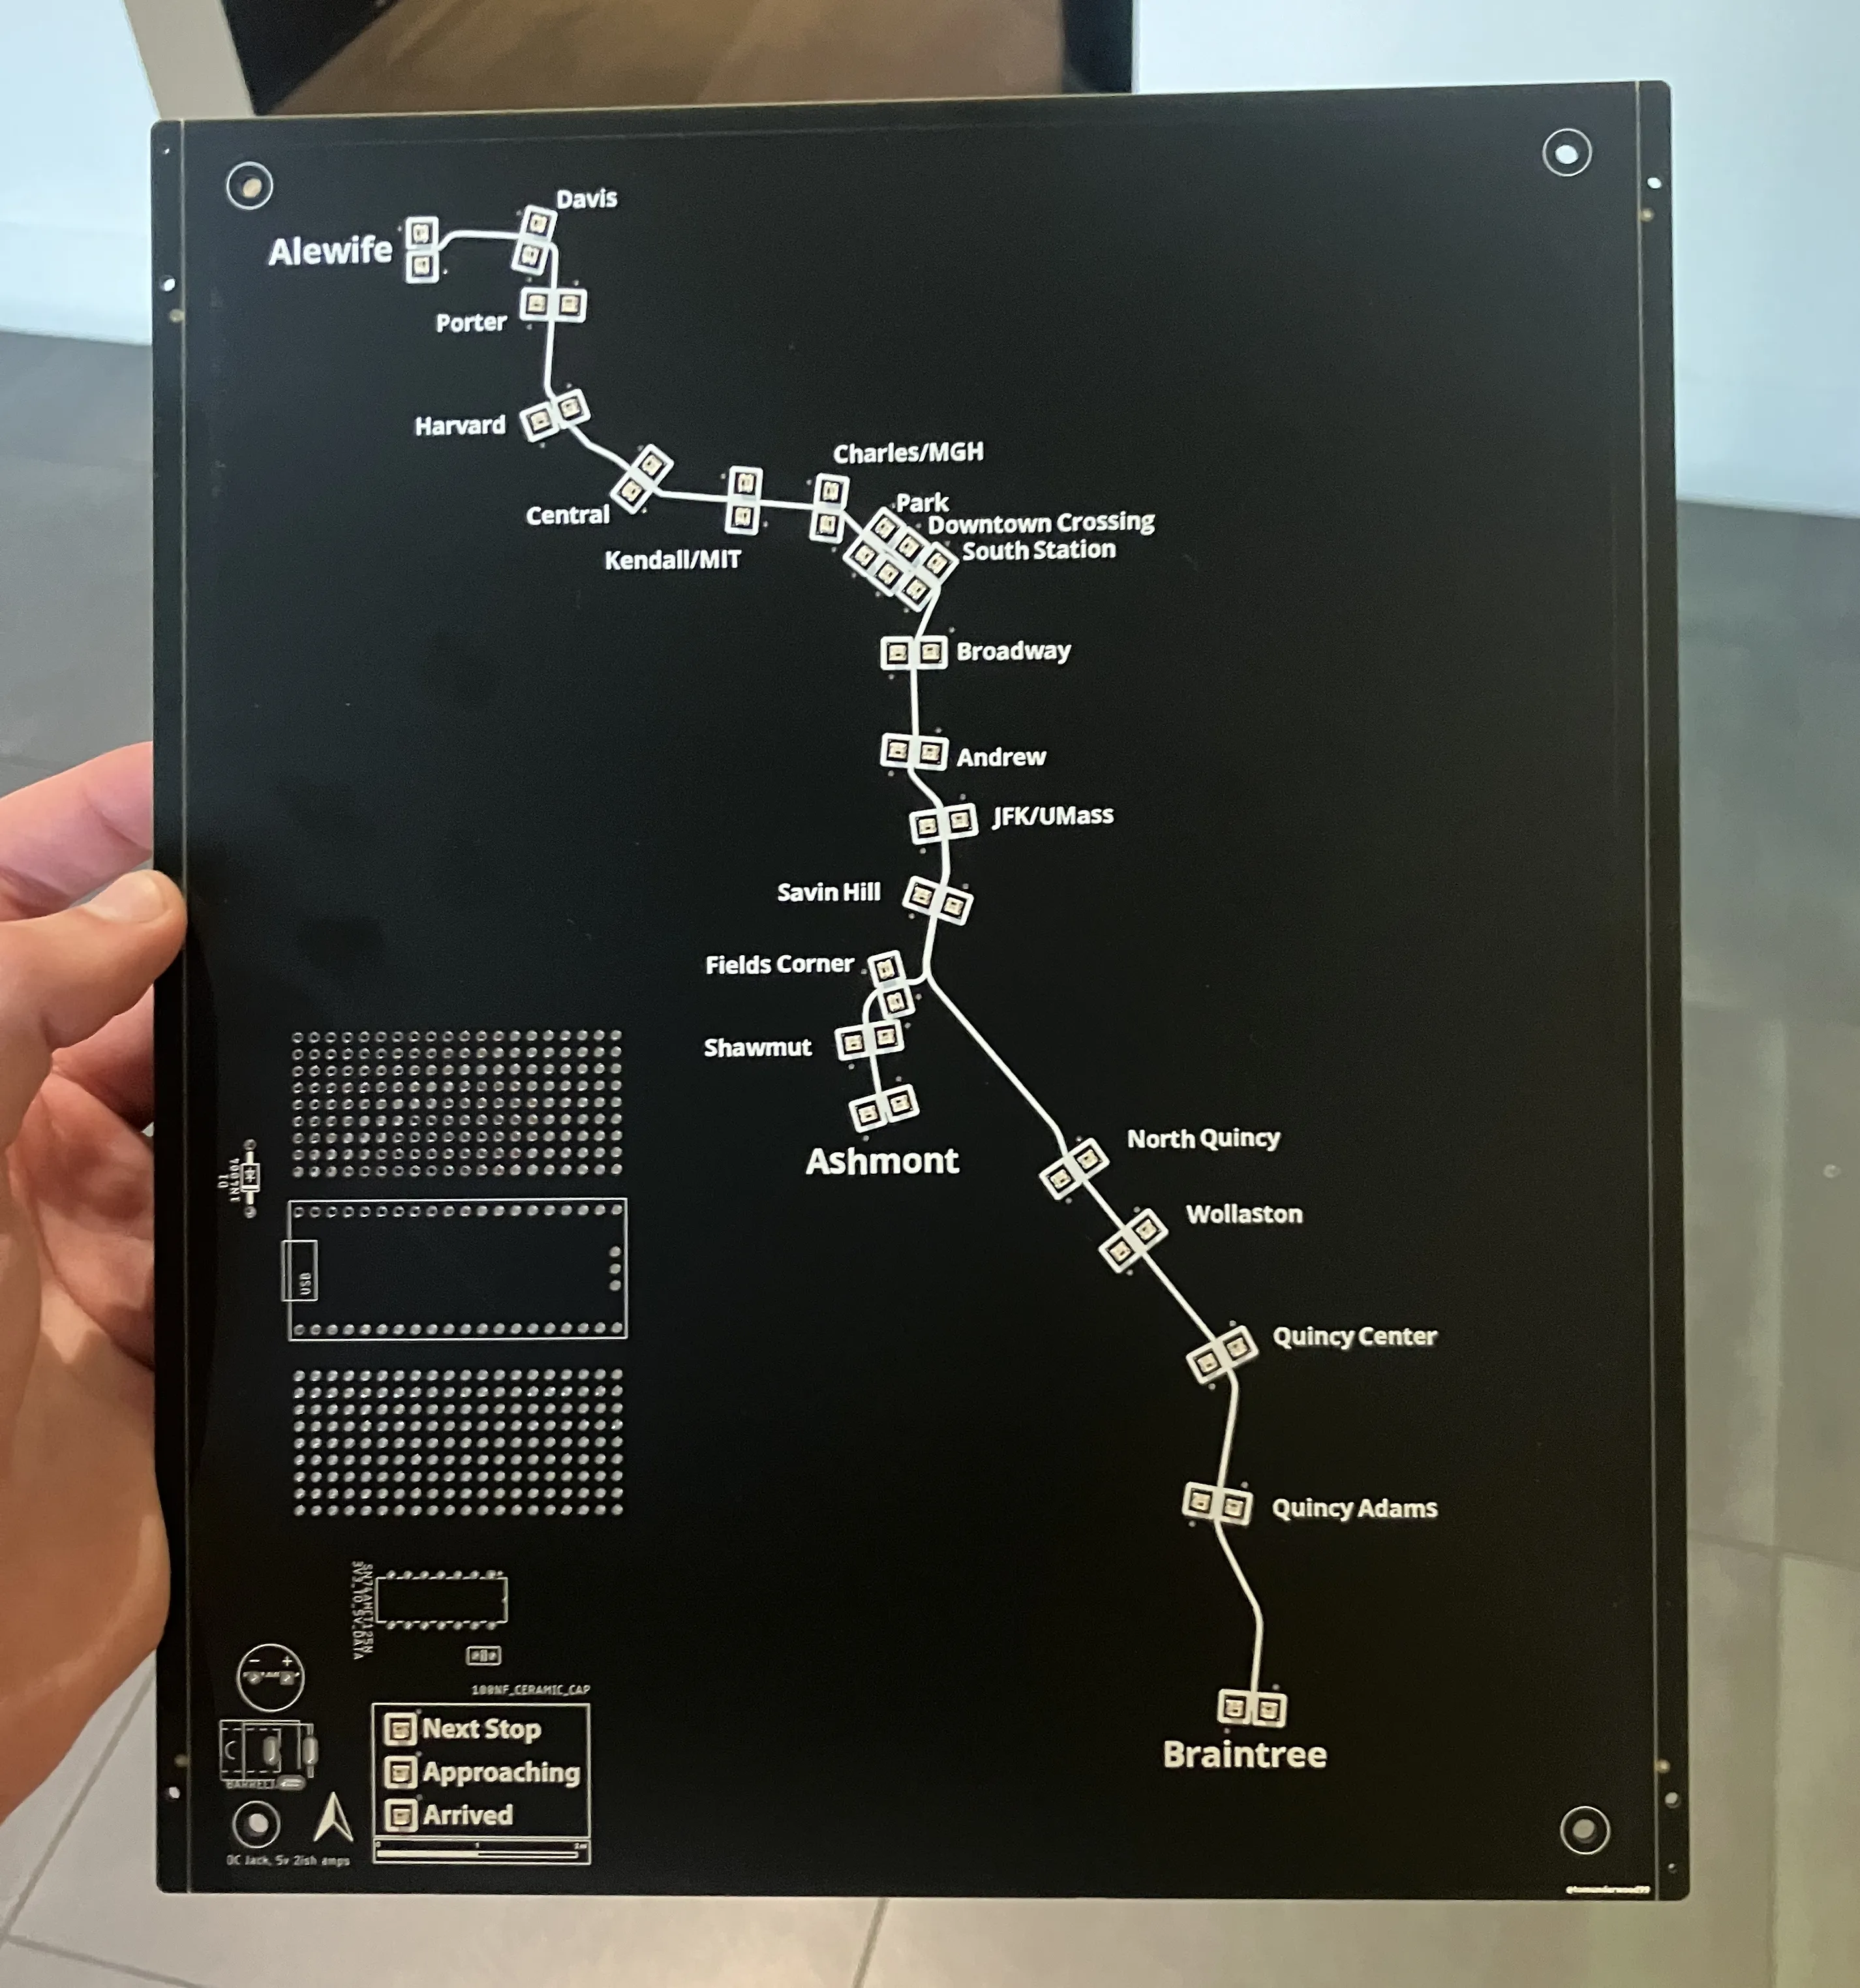
After learning how to use KiCad (and Eagle) I had my first PCB manufactured! This board included a perfboard section for future development (tested out buttons, dimmer switches, etc).
-
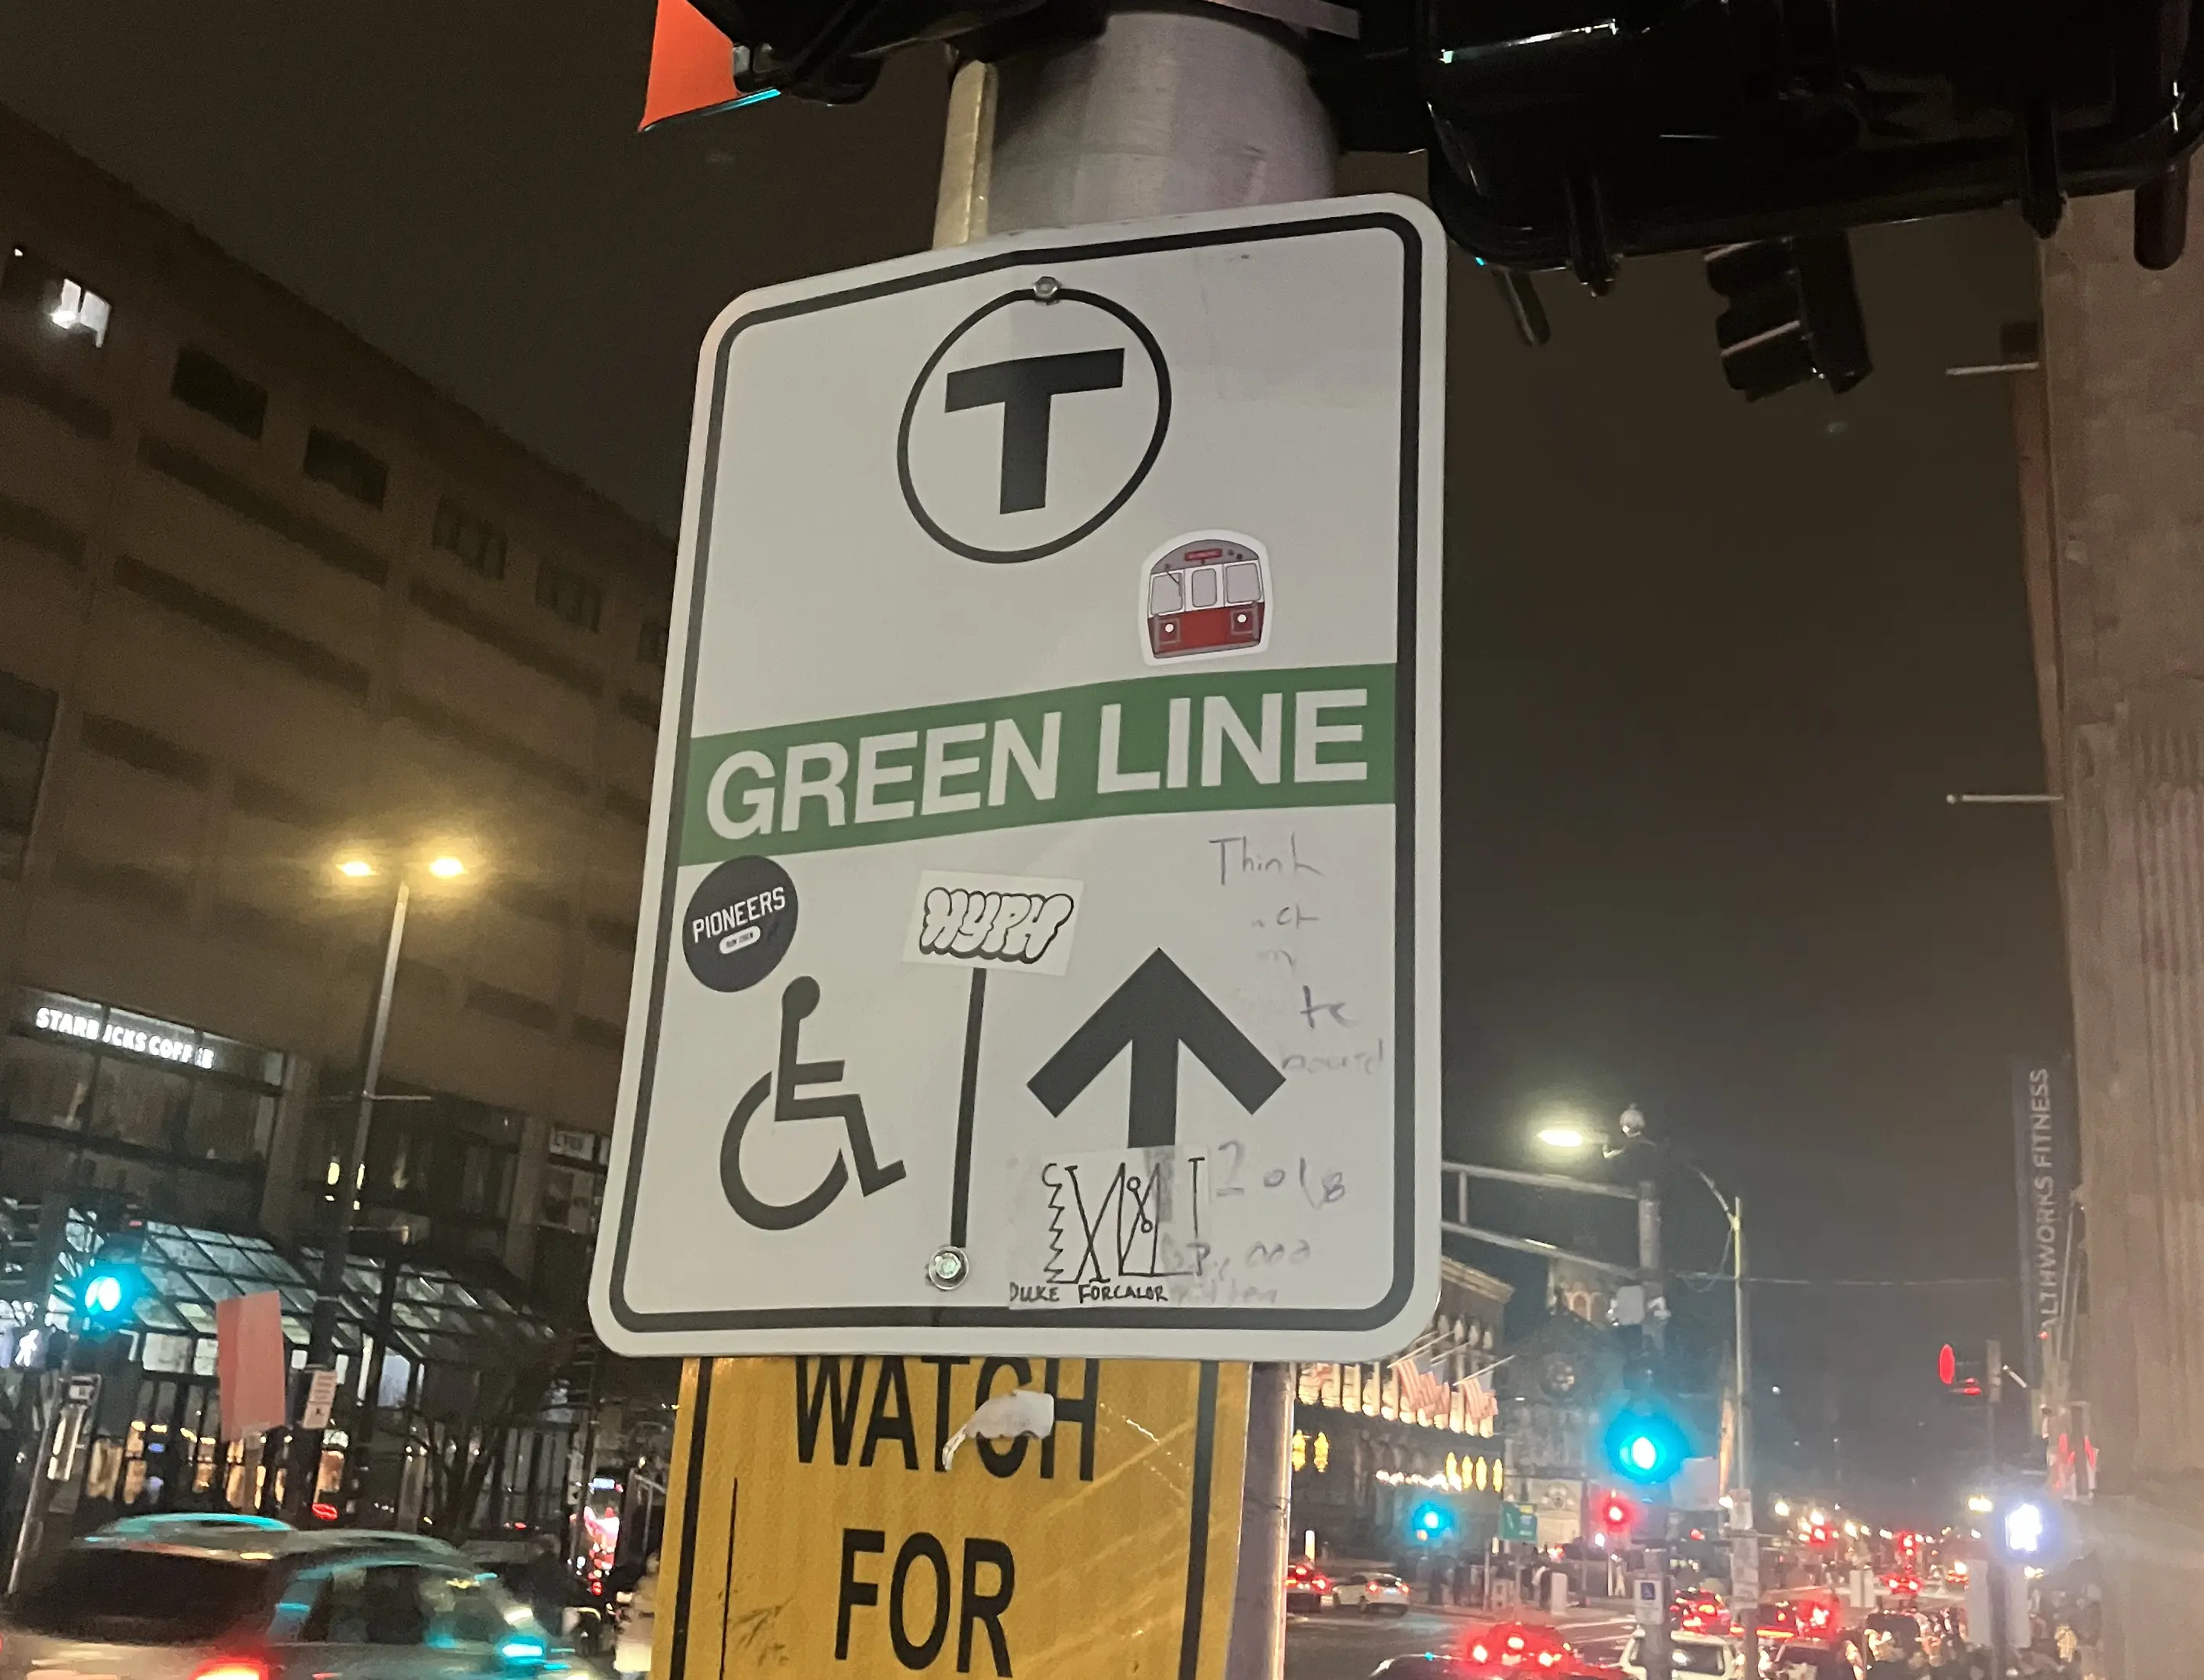
MBTA Stickers
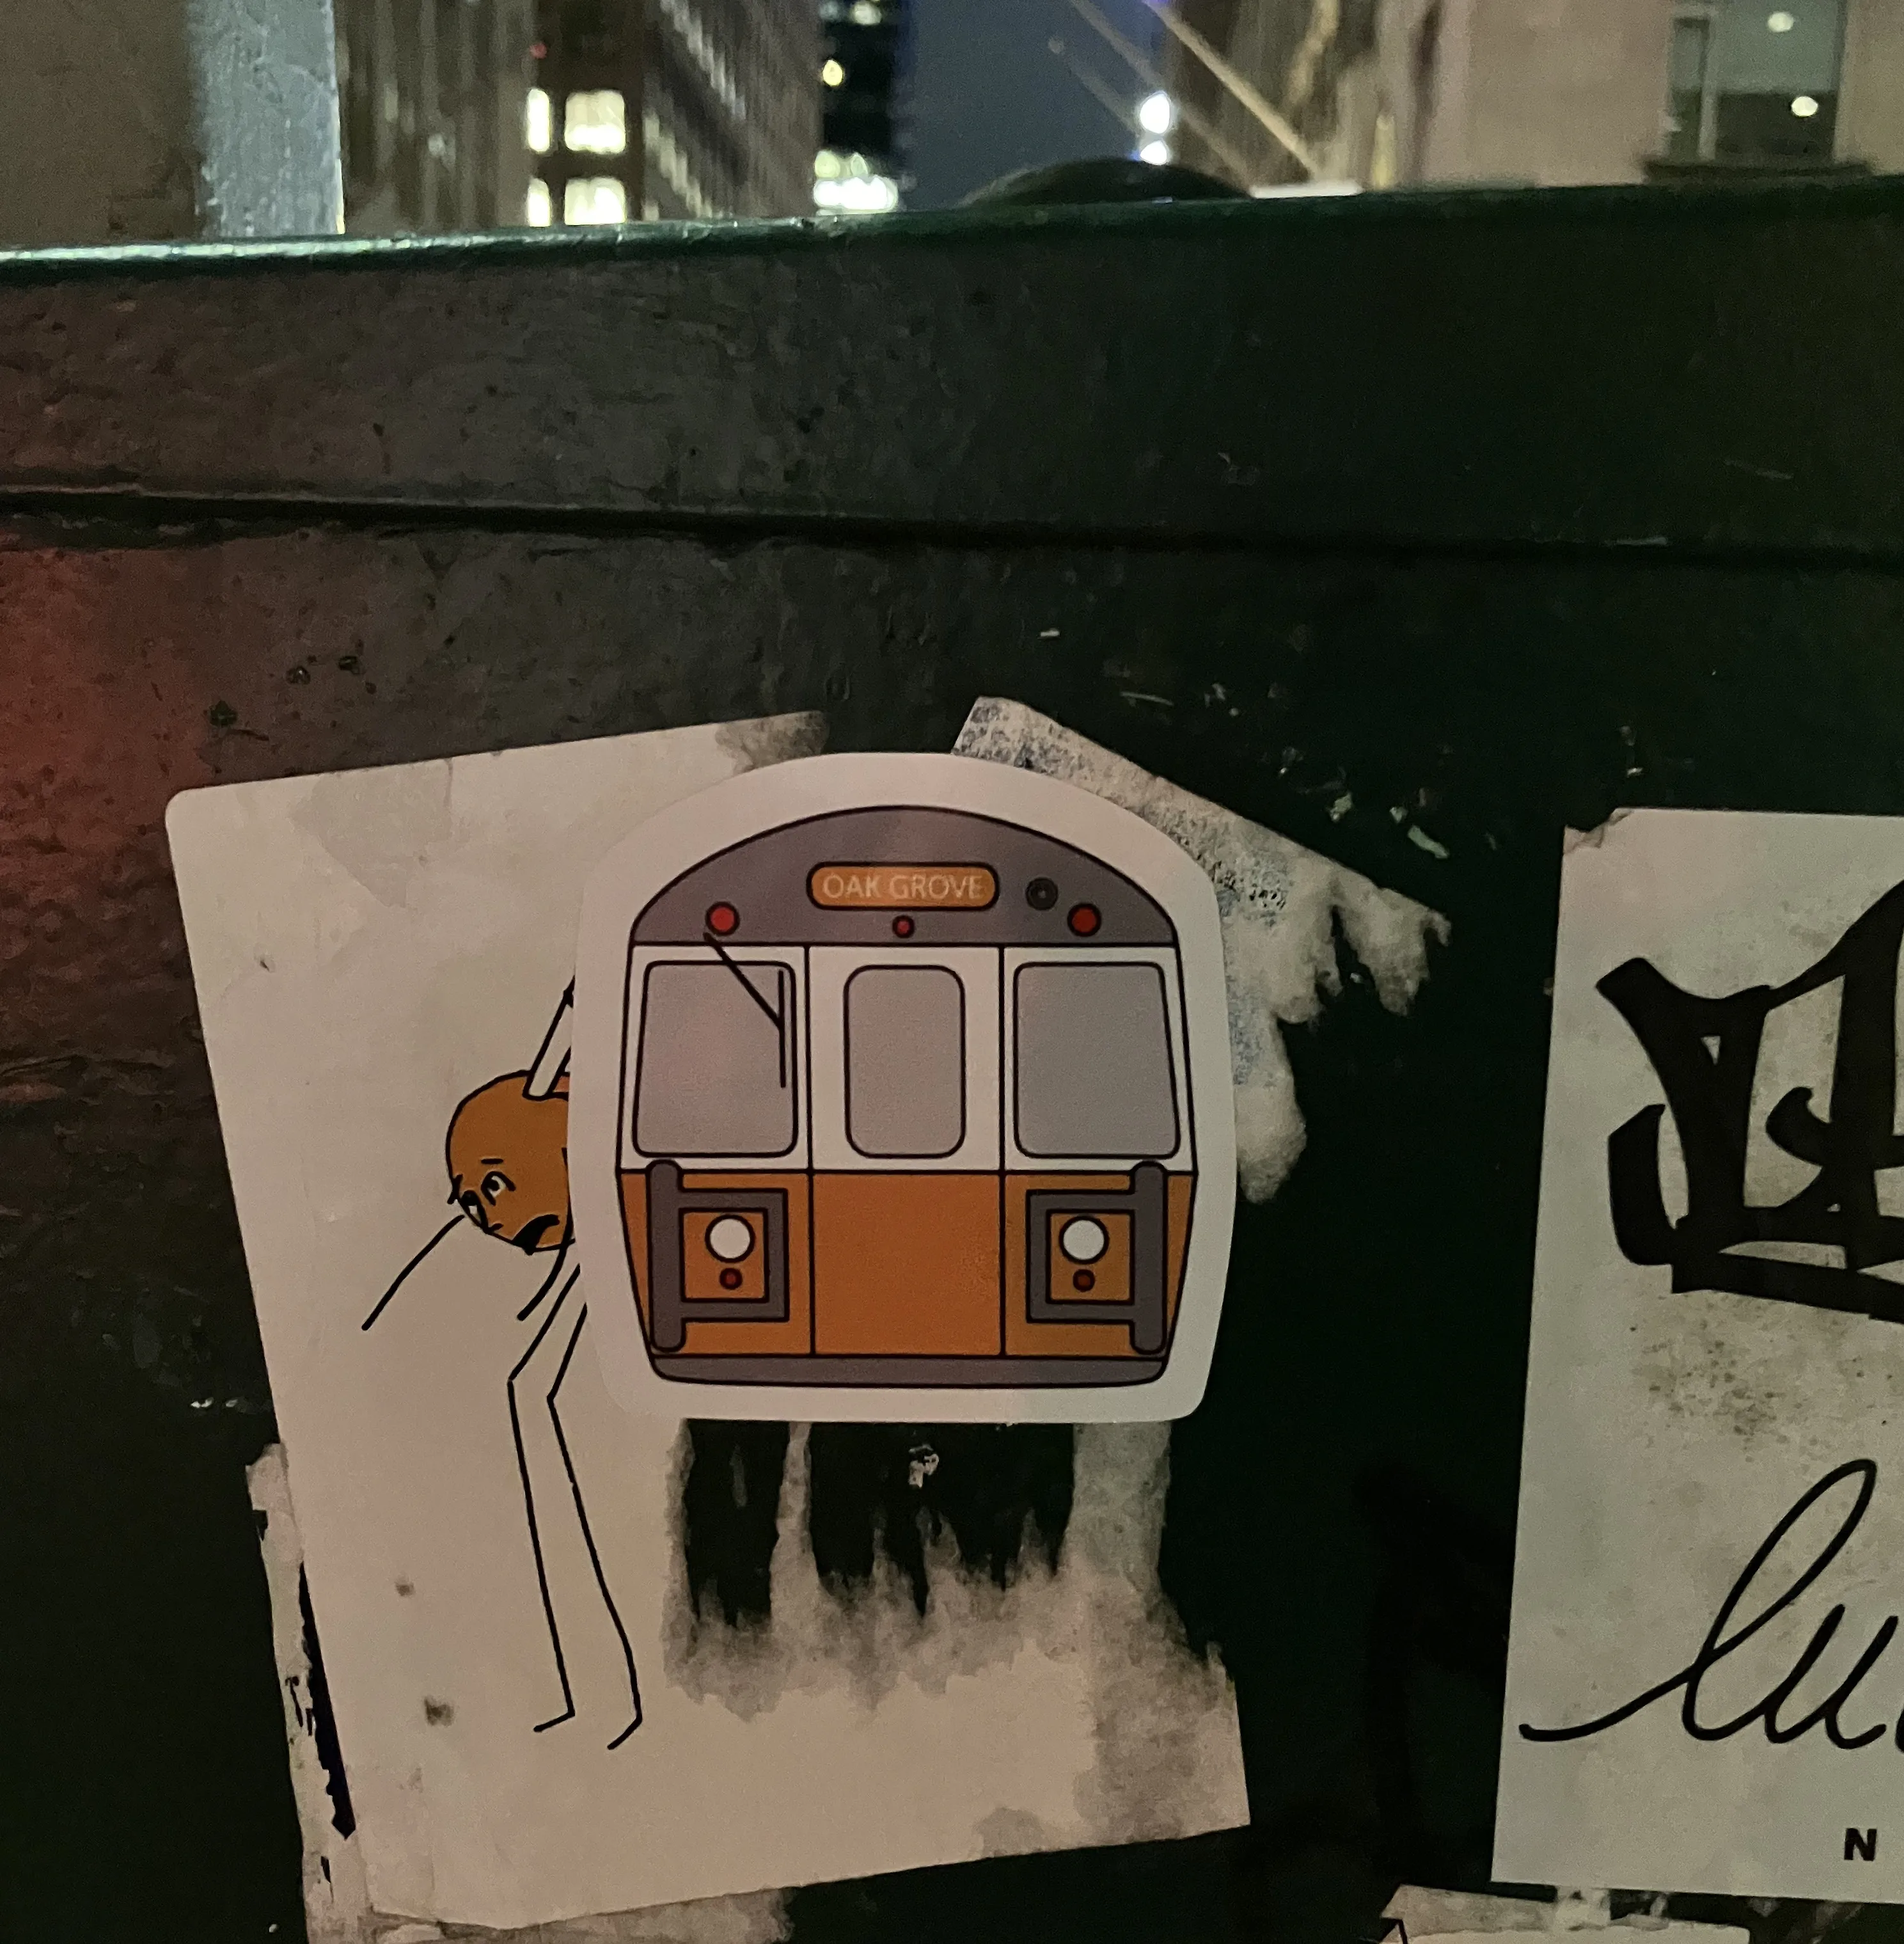
As part of these projects, I learned how to use Adobe Illustrator. At some point, I thought it would be fun to make some MBTA stickers, and over the holidays I left a few around the city. Let me know if you've found one!
-
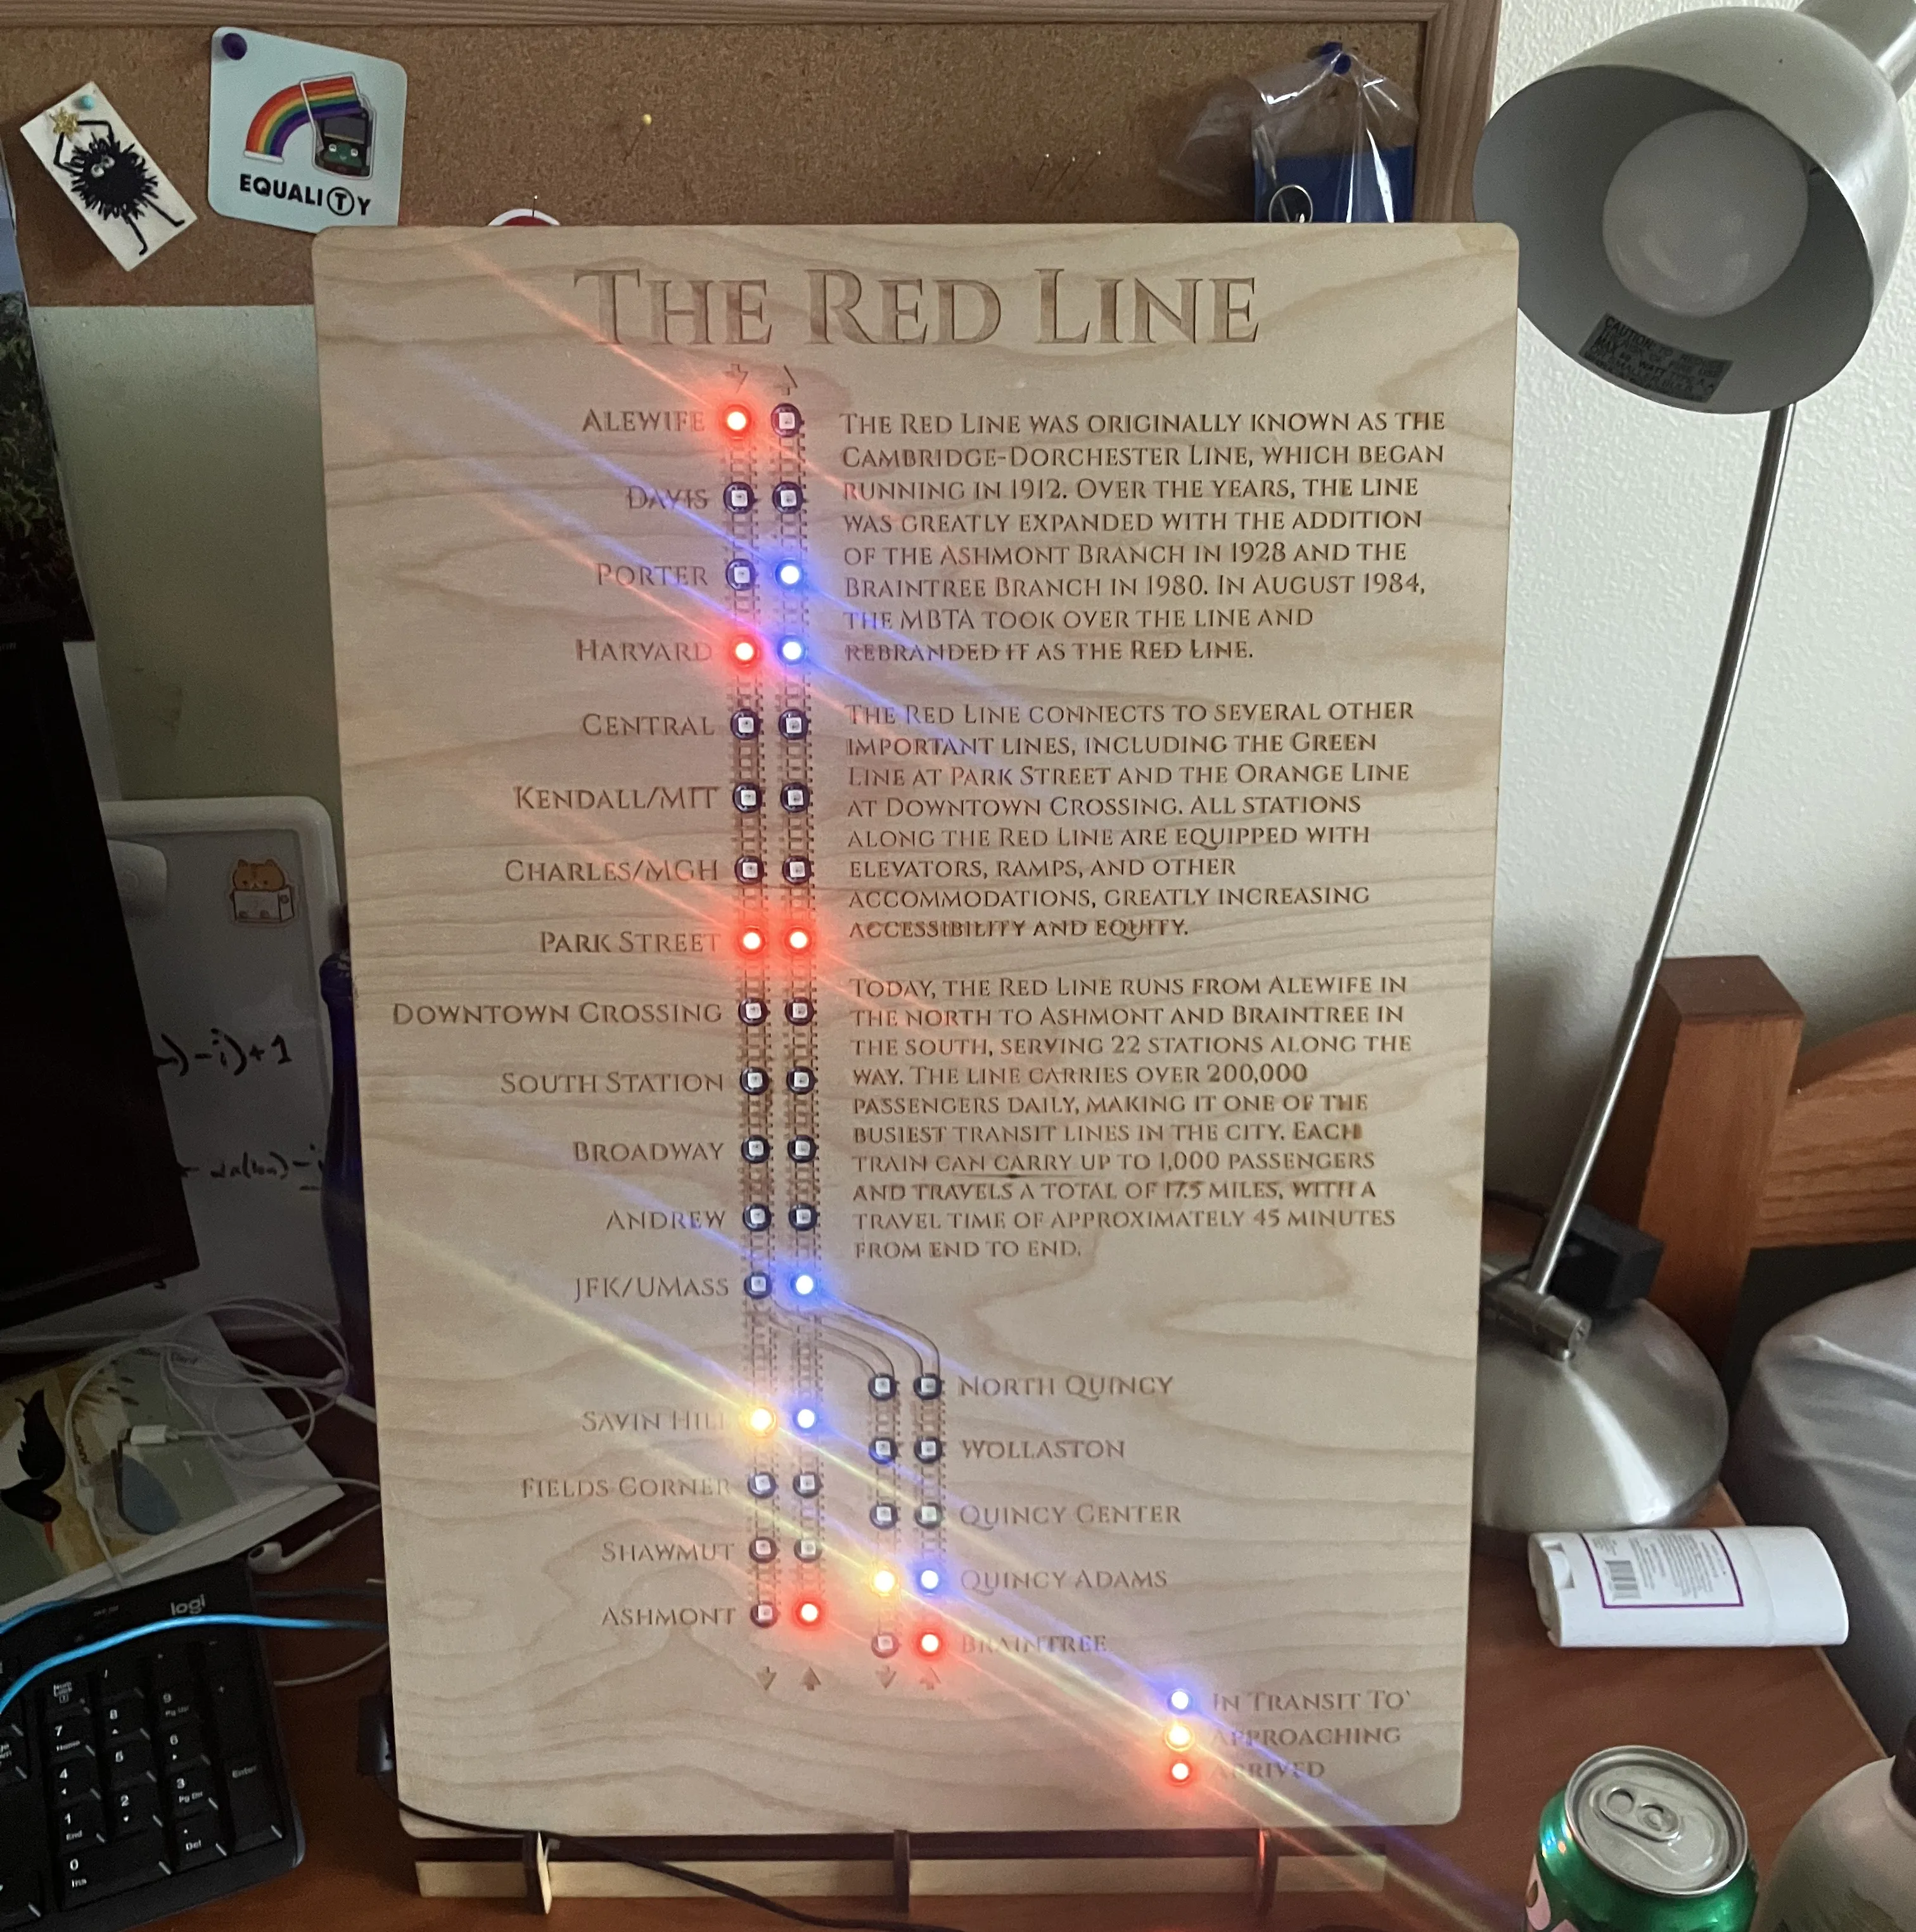
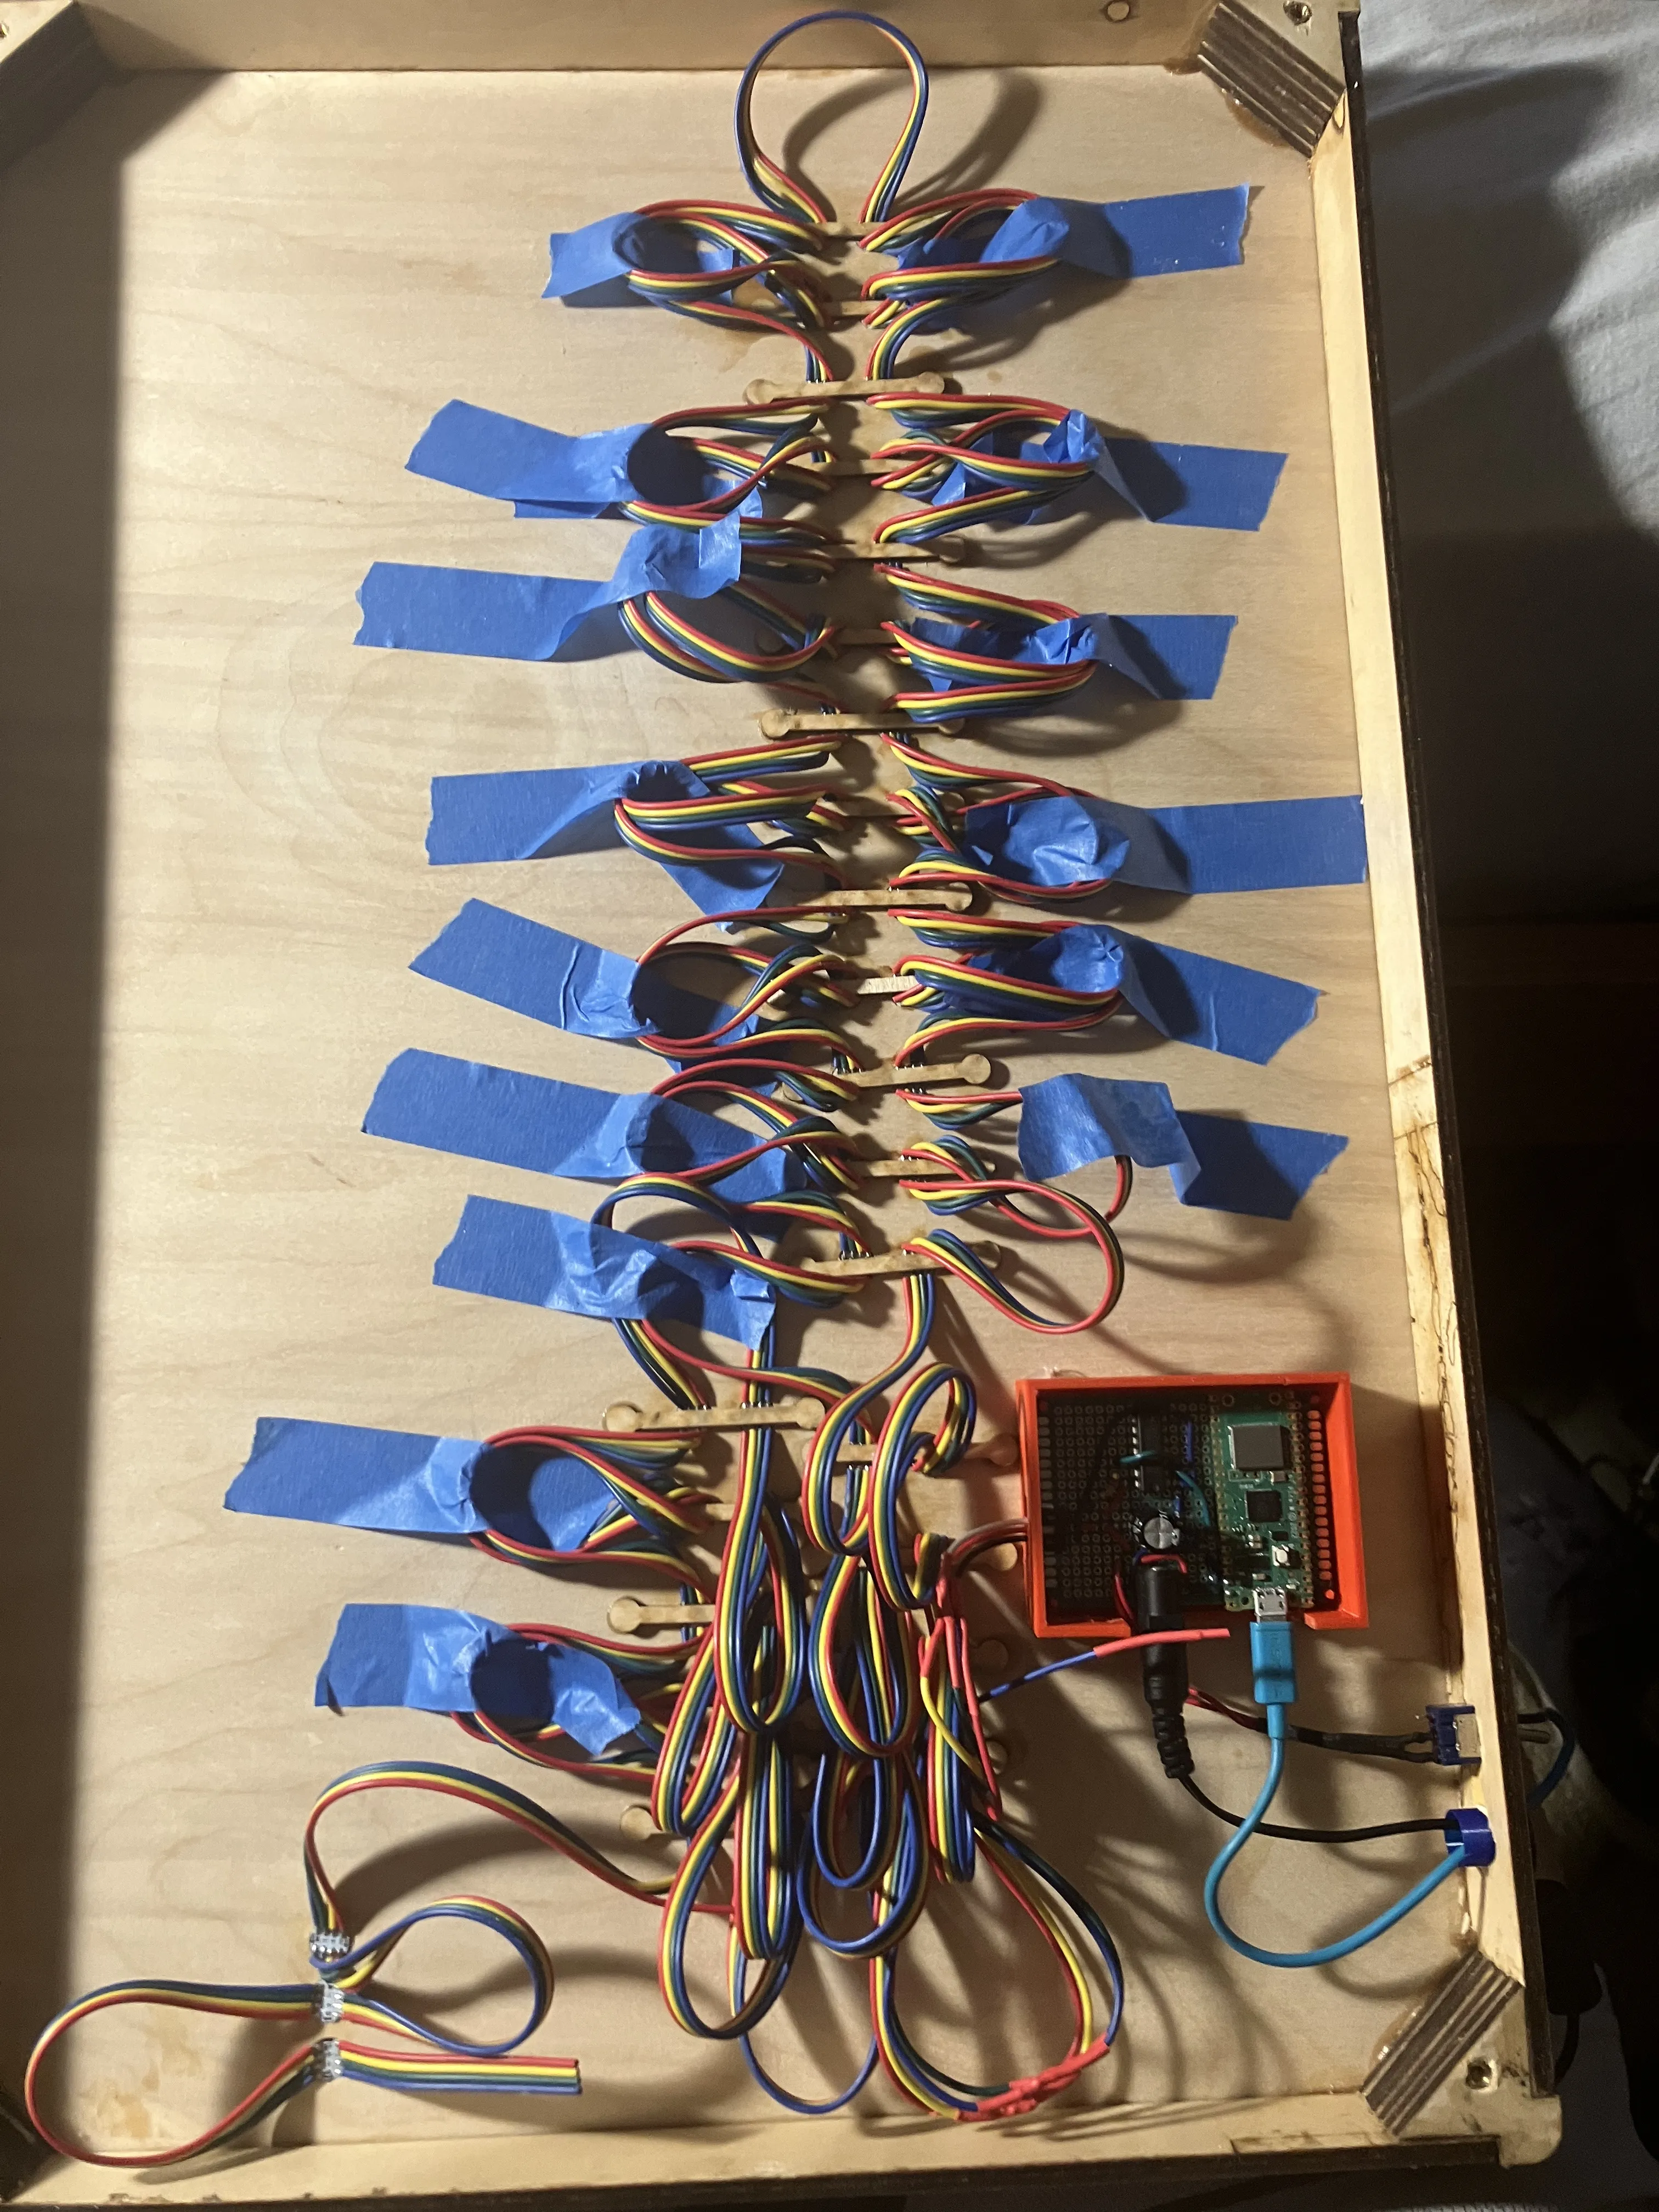
A Second Laser Cut Display (and a Peek Inside!)
I was unsatisfied with the paint on the first display, and I wanted to enclose the back of the display so I built another one, this time for the Red Line. Ultimately, this was still pretty messy, so I started looking into PCB design.
-
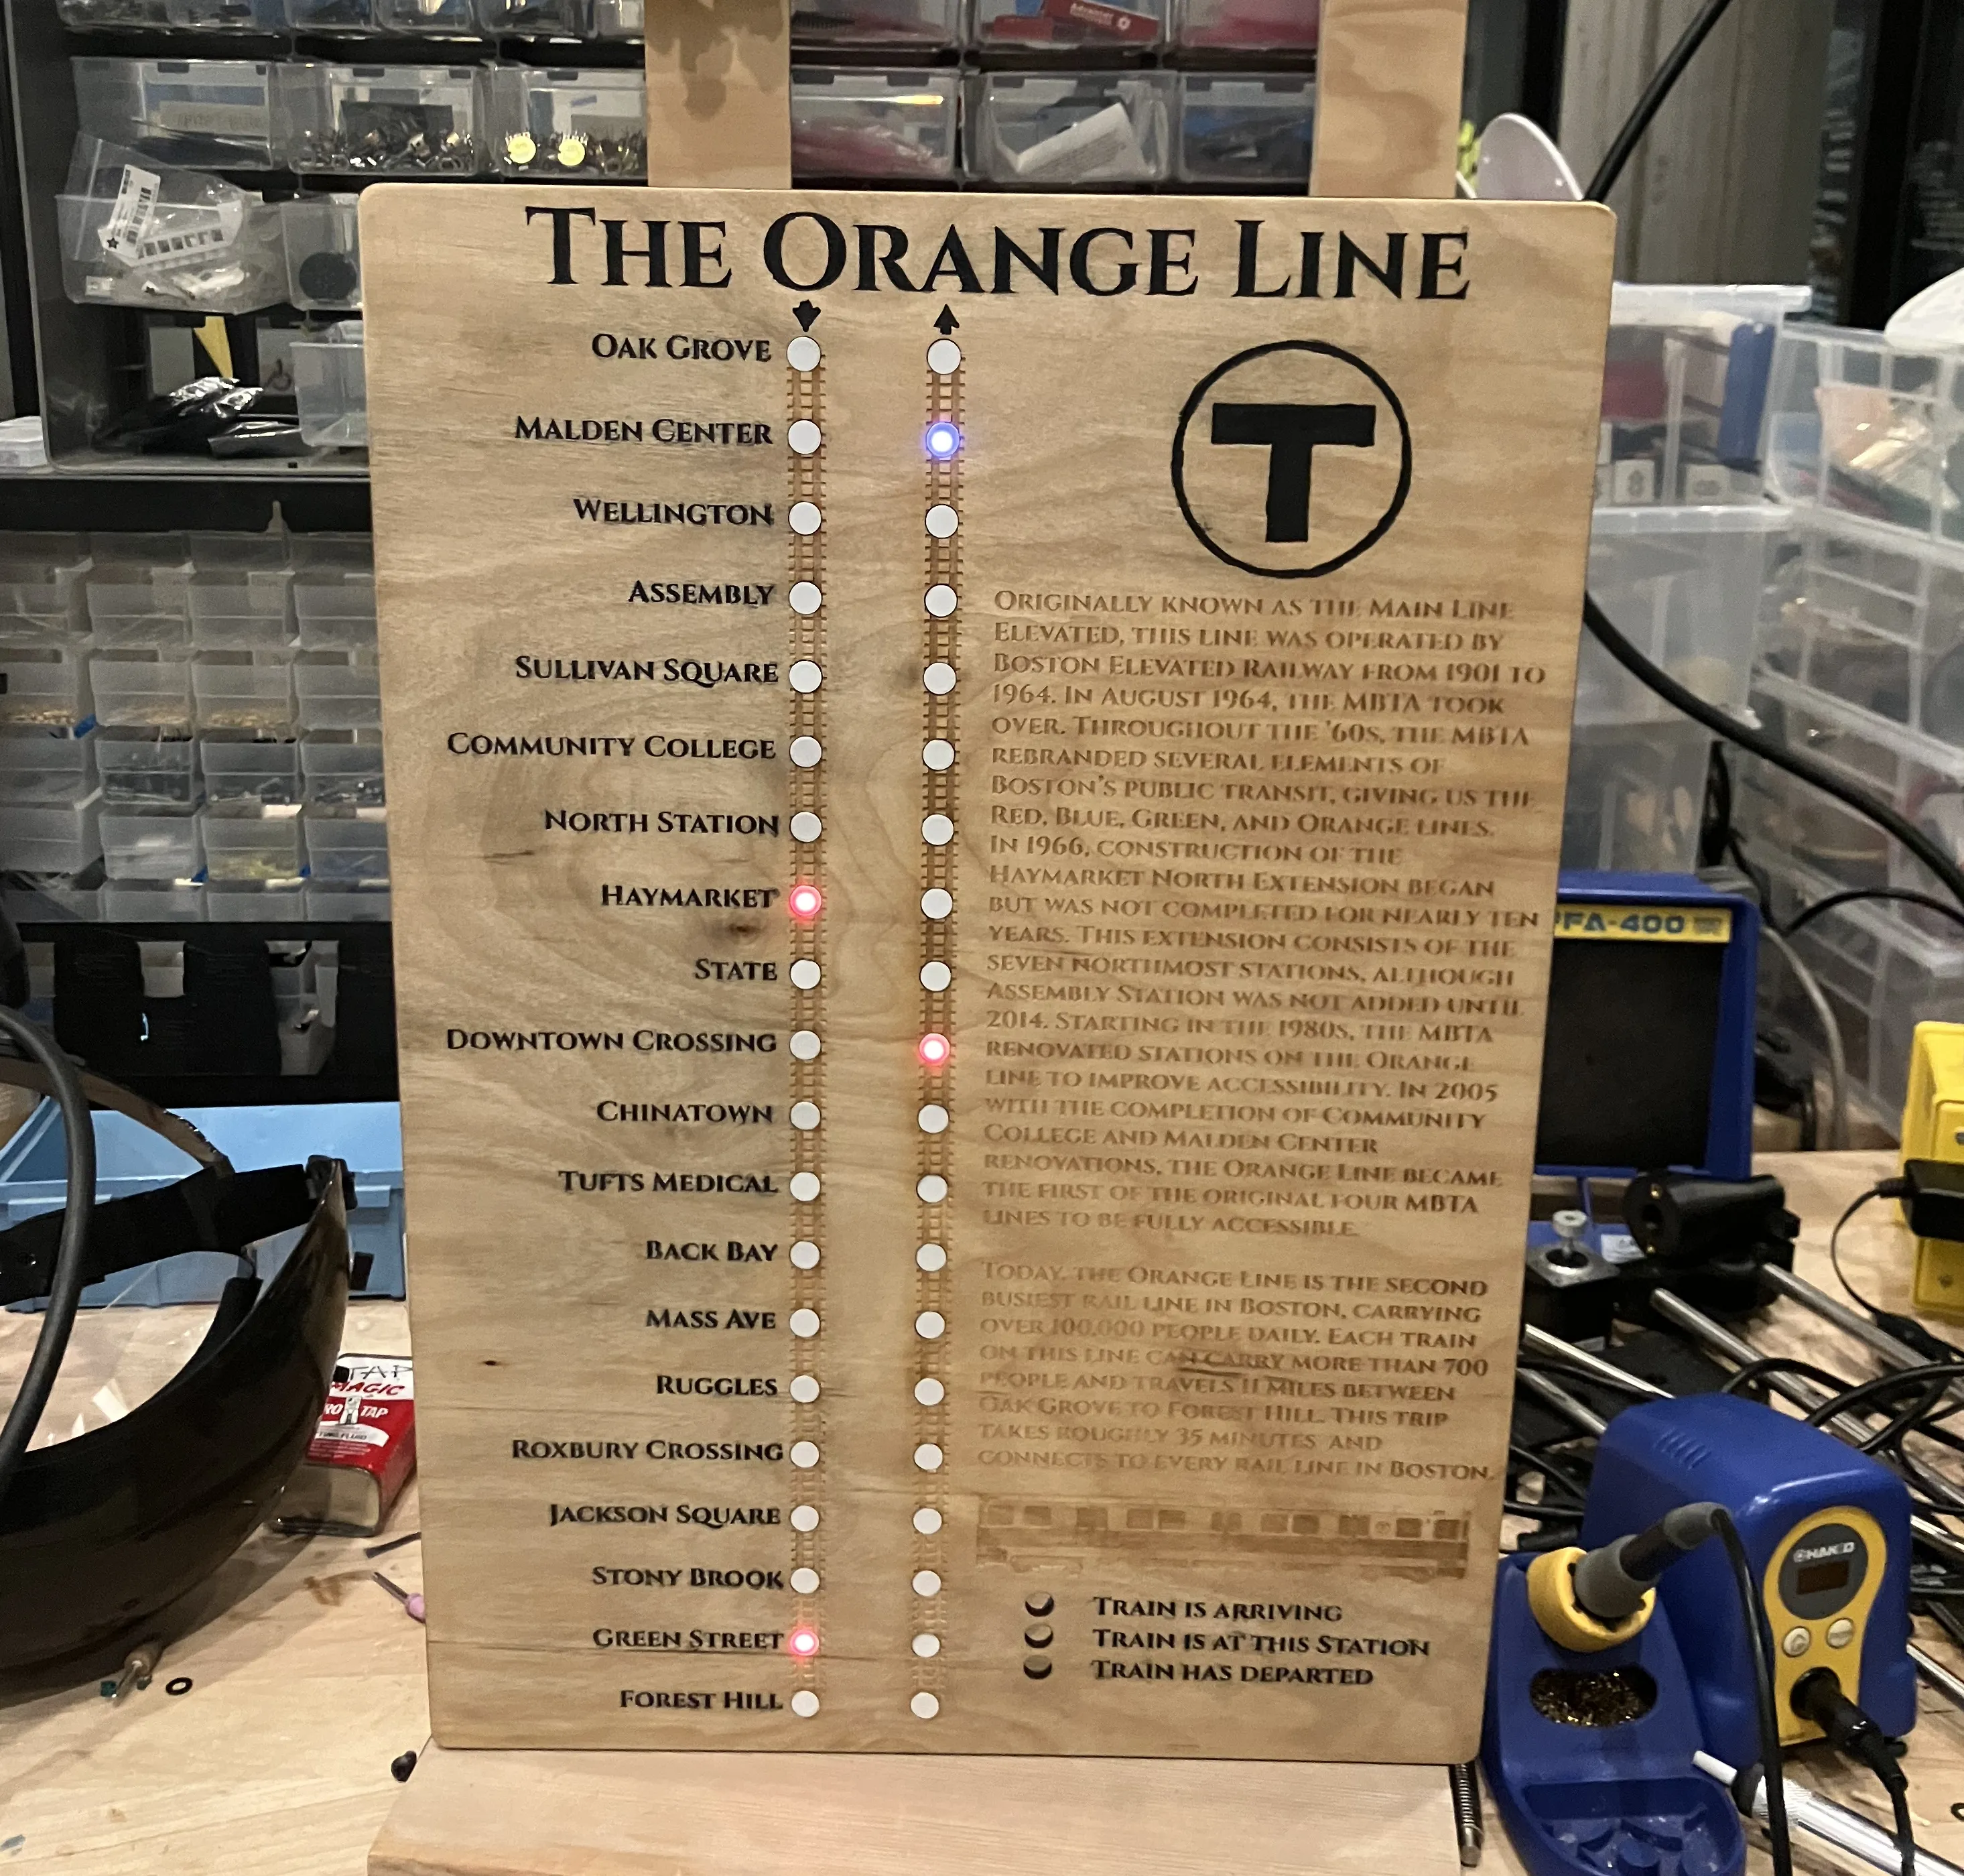
WS2812B-2020 LED Strips
After learning more about microcontrollers, I built a display using addressable LEDs. This version used a laser cut front to hold the LEDs, and 3D printed diffusers.
-
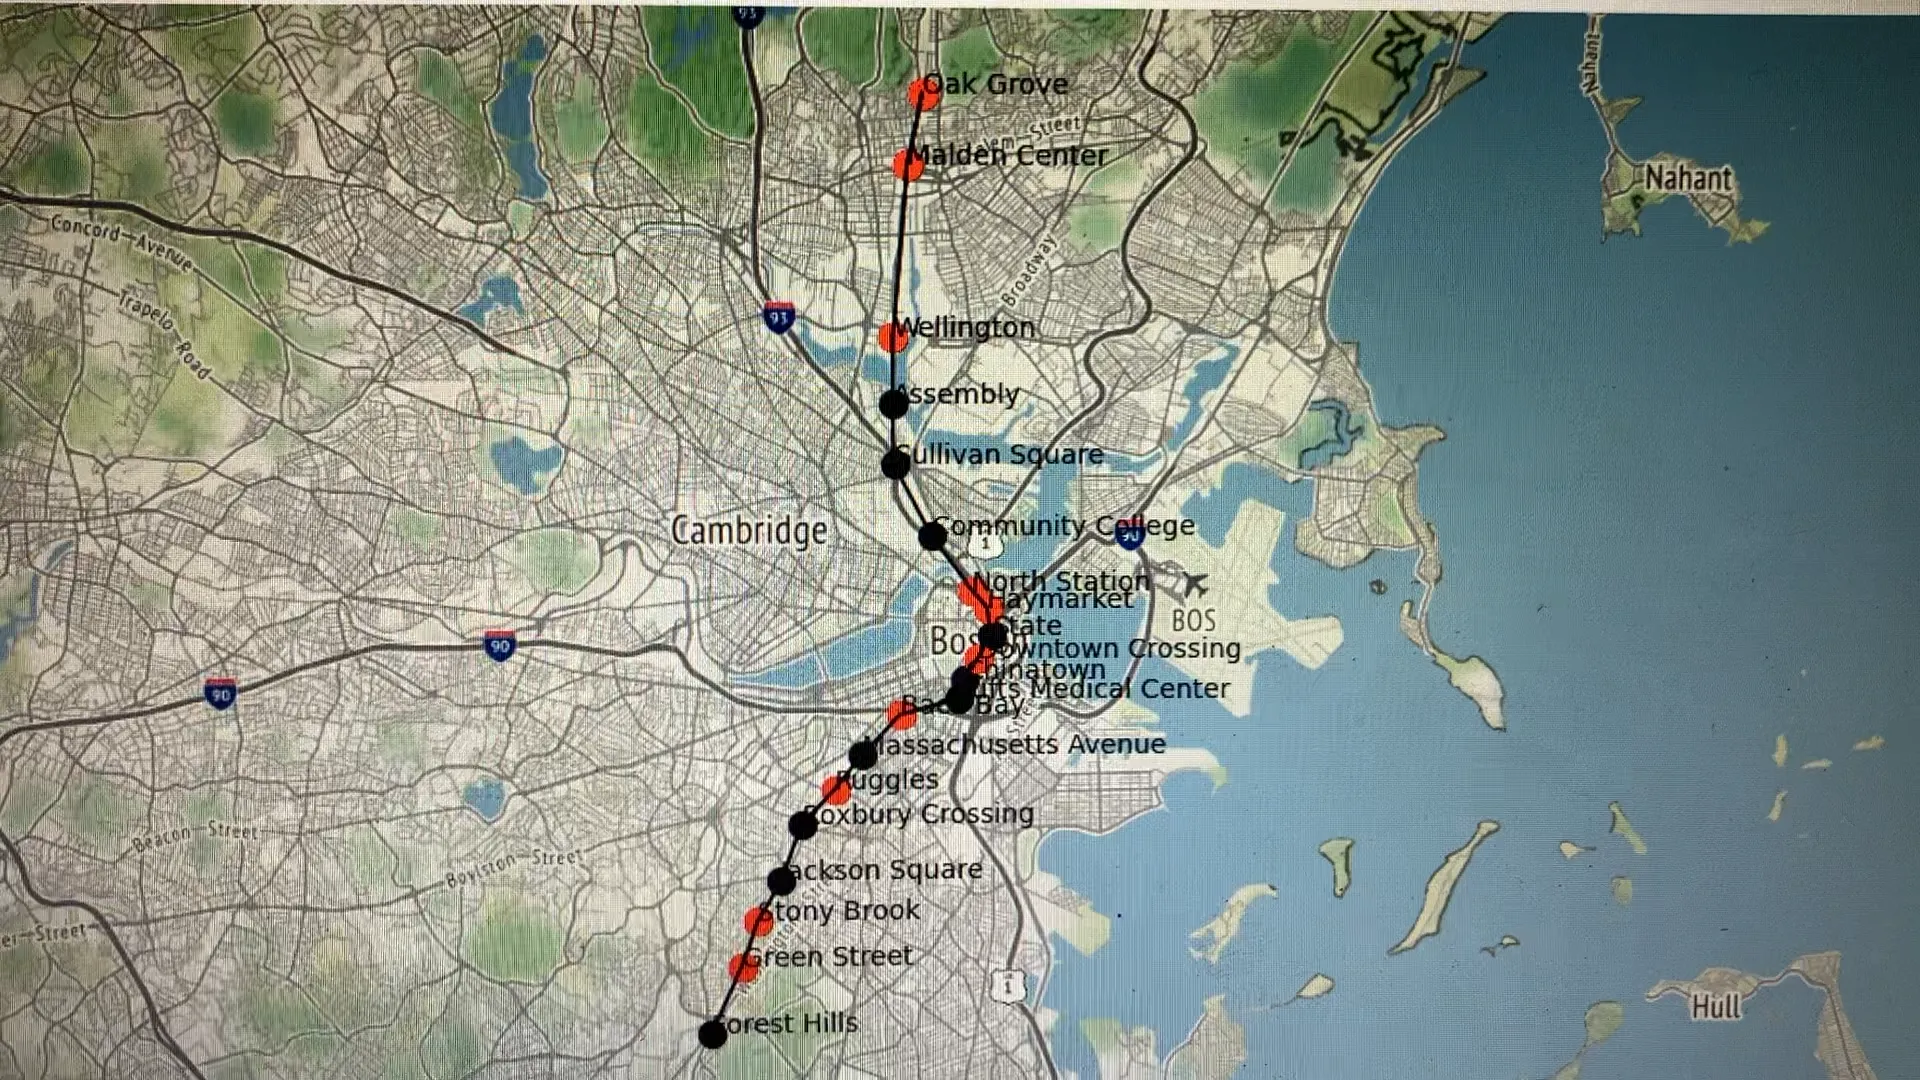
Live MBTA Map with Matplotlib
Having a background in Python, I put together a script that plotted trains on a map using matplotlib. It was hacky and definitely not the best way to do it, but it was a fun start and I learned a lot.