Deep Dive
Why the Pi?
CharlieBoard's first physical iteration started with a Raspberry Pi Pico W. Here's the memory issue that I ran into, and how changing hardware made new features possible.
What is a microcontroller?
In short, a microcontroller is a small, cheap computer, often embedded inside other devices. Microcontrollers take an input like a button press or a temperature reading, process the input, and produce an output. A freezer alarm that texts you when the temperature gets too warm is a classic example microcontrollers in action.
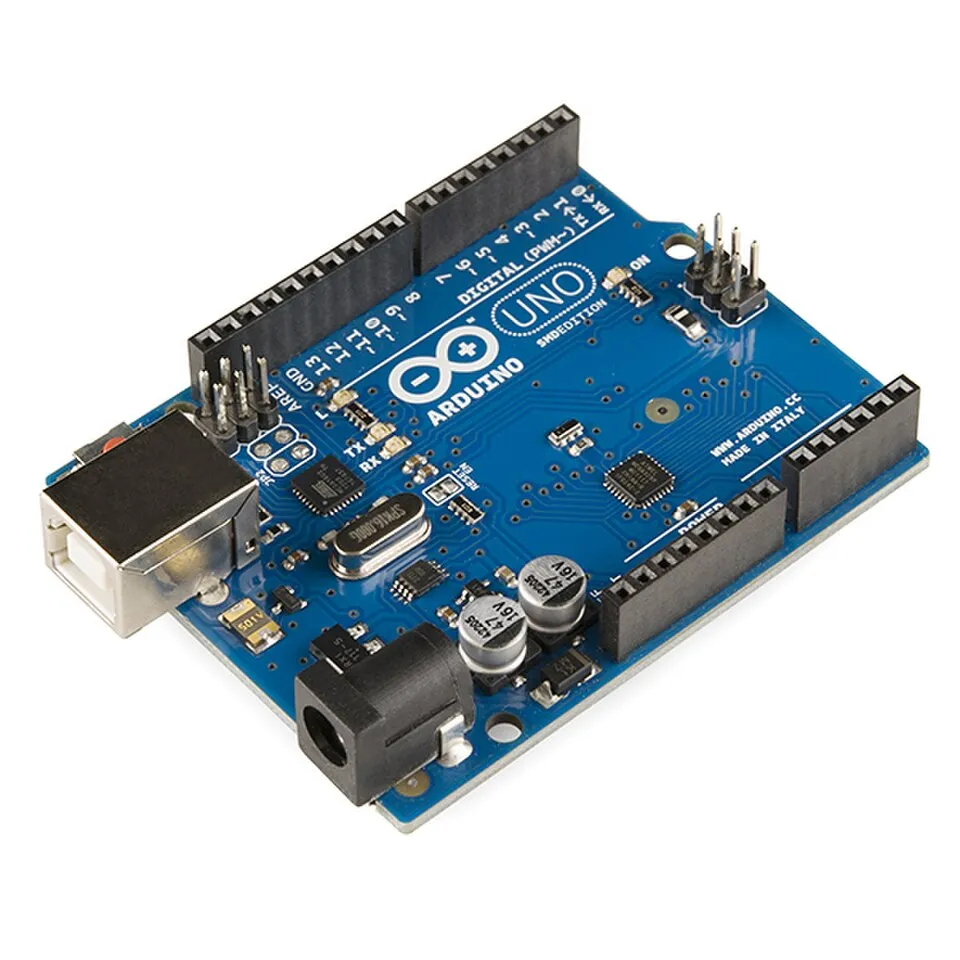 DustyDingo · CC BY-SA
ESP32
DustyDingo · CC BY-SA
ESP32
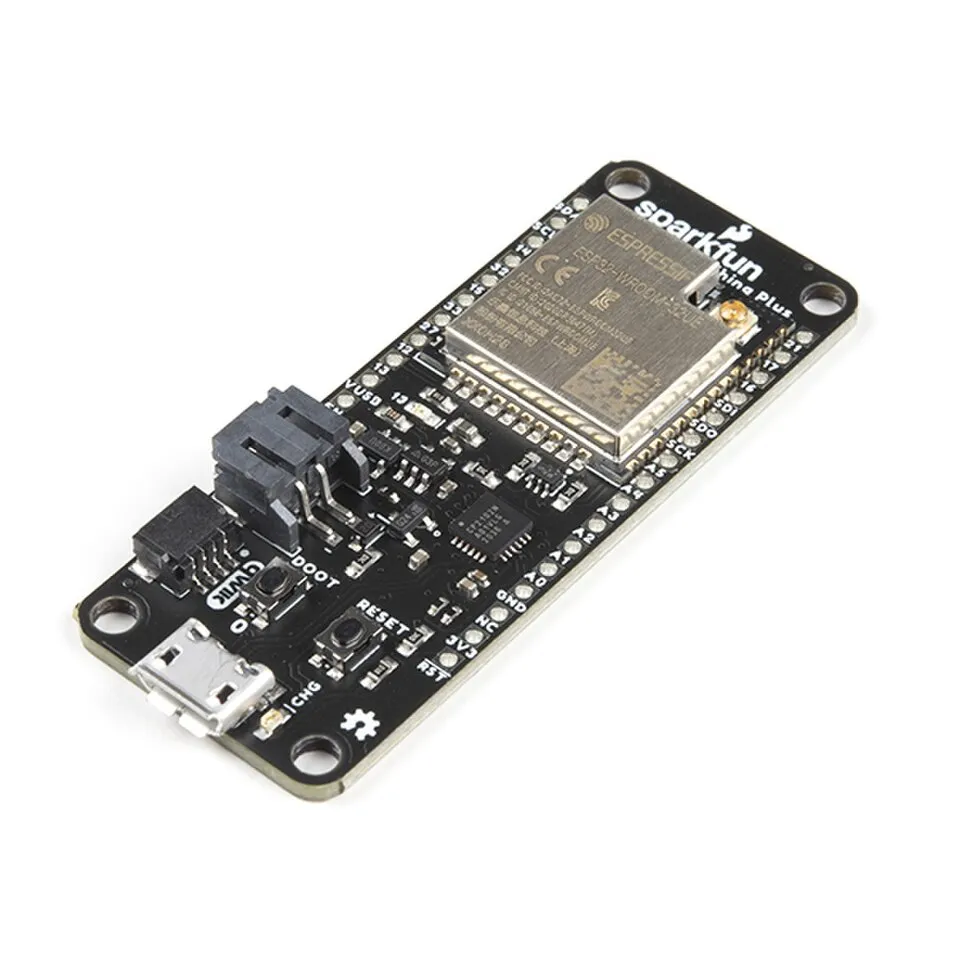 SparkFun · CC BY
Raspberry Pi Pico W
SparkFun · CC BY
Raspberry Pi Pico W
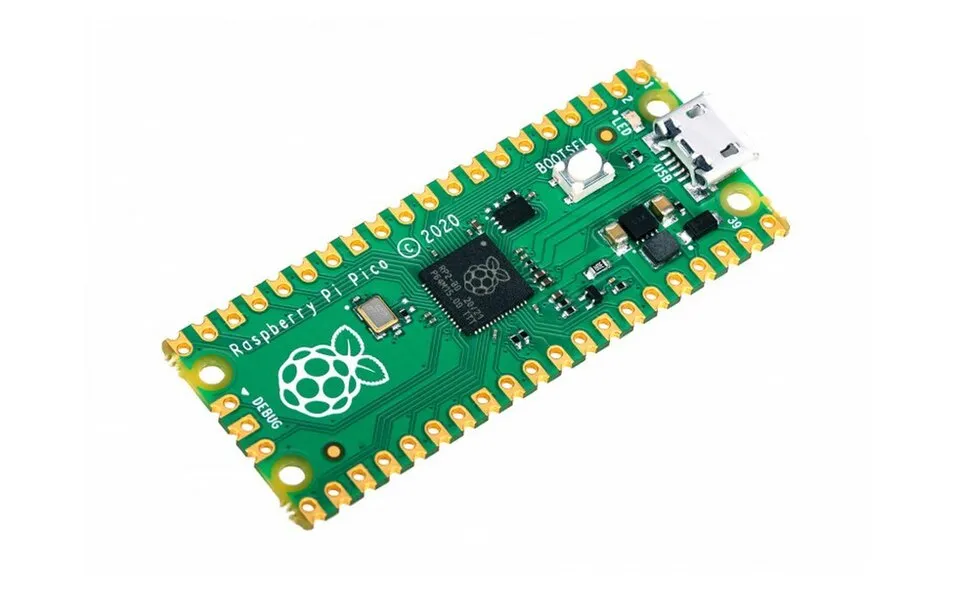 G. Halfacree · CC BY-SA
When I decided to make a physical display, using a microcontroller was the obvious move. I chose a Raspberry Pi Pico W that could easily connect to the internet and poll the MBTA's API (a live data feed of train locations). With a little bit of code, data from the API could be processed and displayed on addressable LEDs.
After toying with this for a while (see Iterations 1–4), I kept having the same issue: the display would run for hours and hours, and then freeze. This bug was inconsistent, but logging revealed that the microcontroller was running out of memory. When operating with MicroPython (a lightweight Python variant for microcontrollers), the Pico W is left with roughly 150KB of RAM. Between libraries and my scripts, there isn't enough memory left to reliably process the huge JSON responses from the MBTA's API.
How do other projects address this?
Transit APIs have inspired many projects, both open source and commercial, that use microcontrollers. These projects share a common design choice: API data is pre-processed on a separate device before being sent to the display. Examples of this include Train Trackr, Train Watchr, and MBTA LED Map.
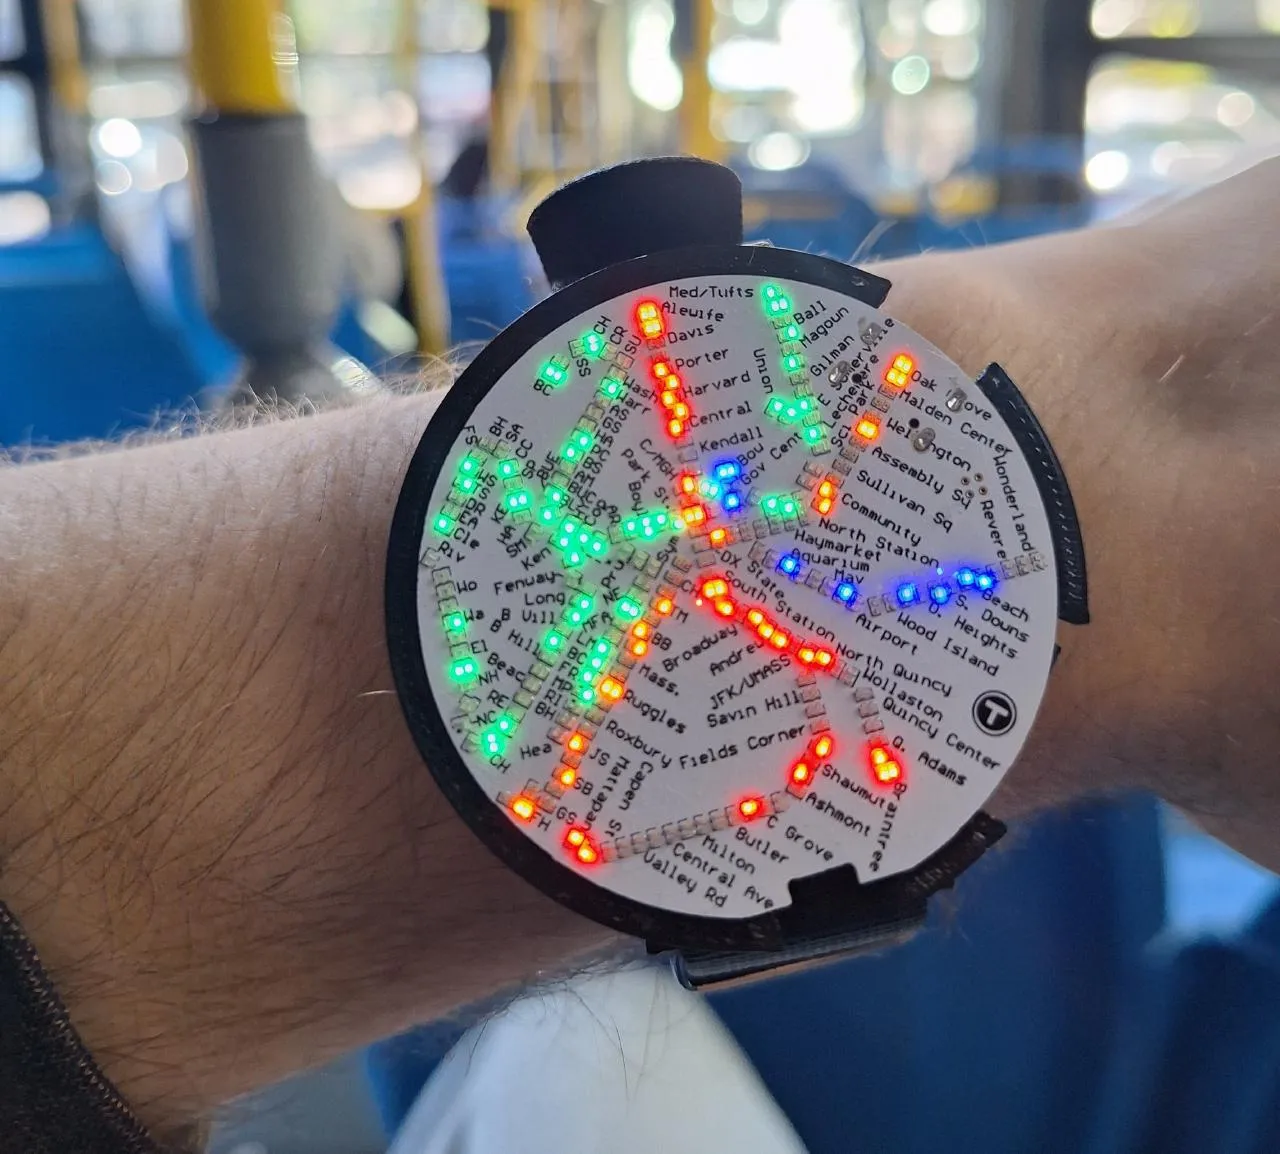
This approach works, but increases project complexity, requiring multiple devices to be set up and managed. I wanted to run CharlieBoard on a single device, so I decided to move to a Raspberry Pi.
Moving to a Raspberry Pi
After switching to a Raspberry Pi Zero 2 W, memory is no longer an issue. The RAM alone is a dramatic upgrade from the Pico W, its quad-core processor handles MBTA API requests with ease, and it has the right connections to drive the LEDs directly, eliminating the need for a separate microcontroller.
| Raspberry Pi Pico W | Raspberry Pi Zero 2 W | |
|---|---|---|
| Processor | Dual-core 133MHz ARM Cortex-M0+ | Quad-core 1GHz ARM Cortex-A53 (64-bit) |
| RAM | 264KB SRAM | 512MB LPDDR2 SDRAM |
| Storage | Up to 16MB onboard flash (no SD card) | microSD slot (user provided) |
Having removed the memory limitations, I took the opportunity to expand the project. I started with a web interface so users can control the display from their phone or computer, then built on top of that with a dimmer function, display modes, bedtime hours, and more.
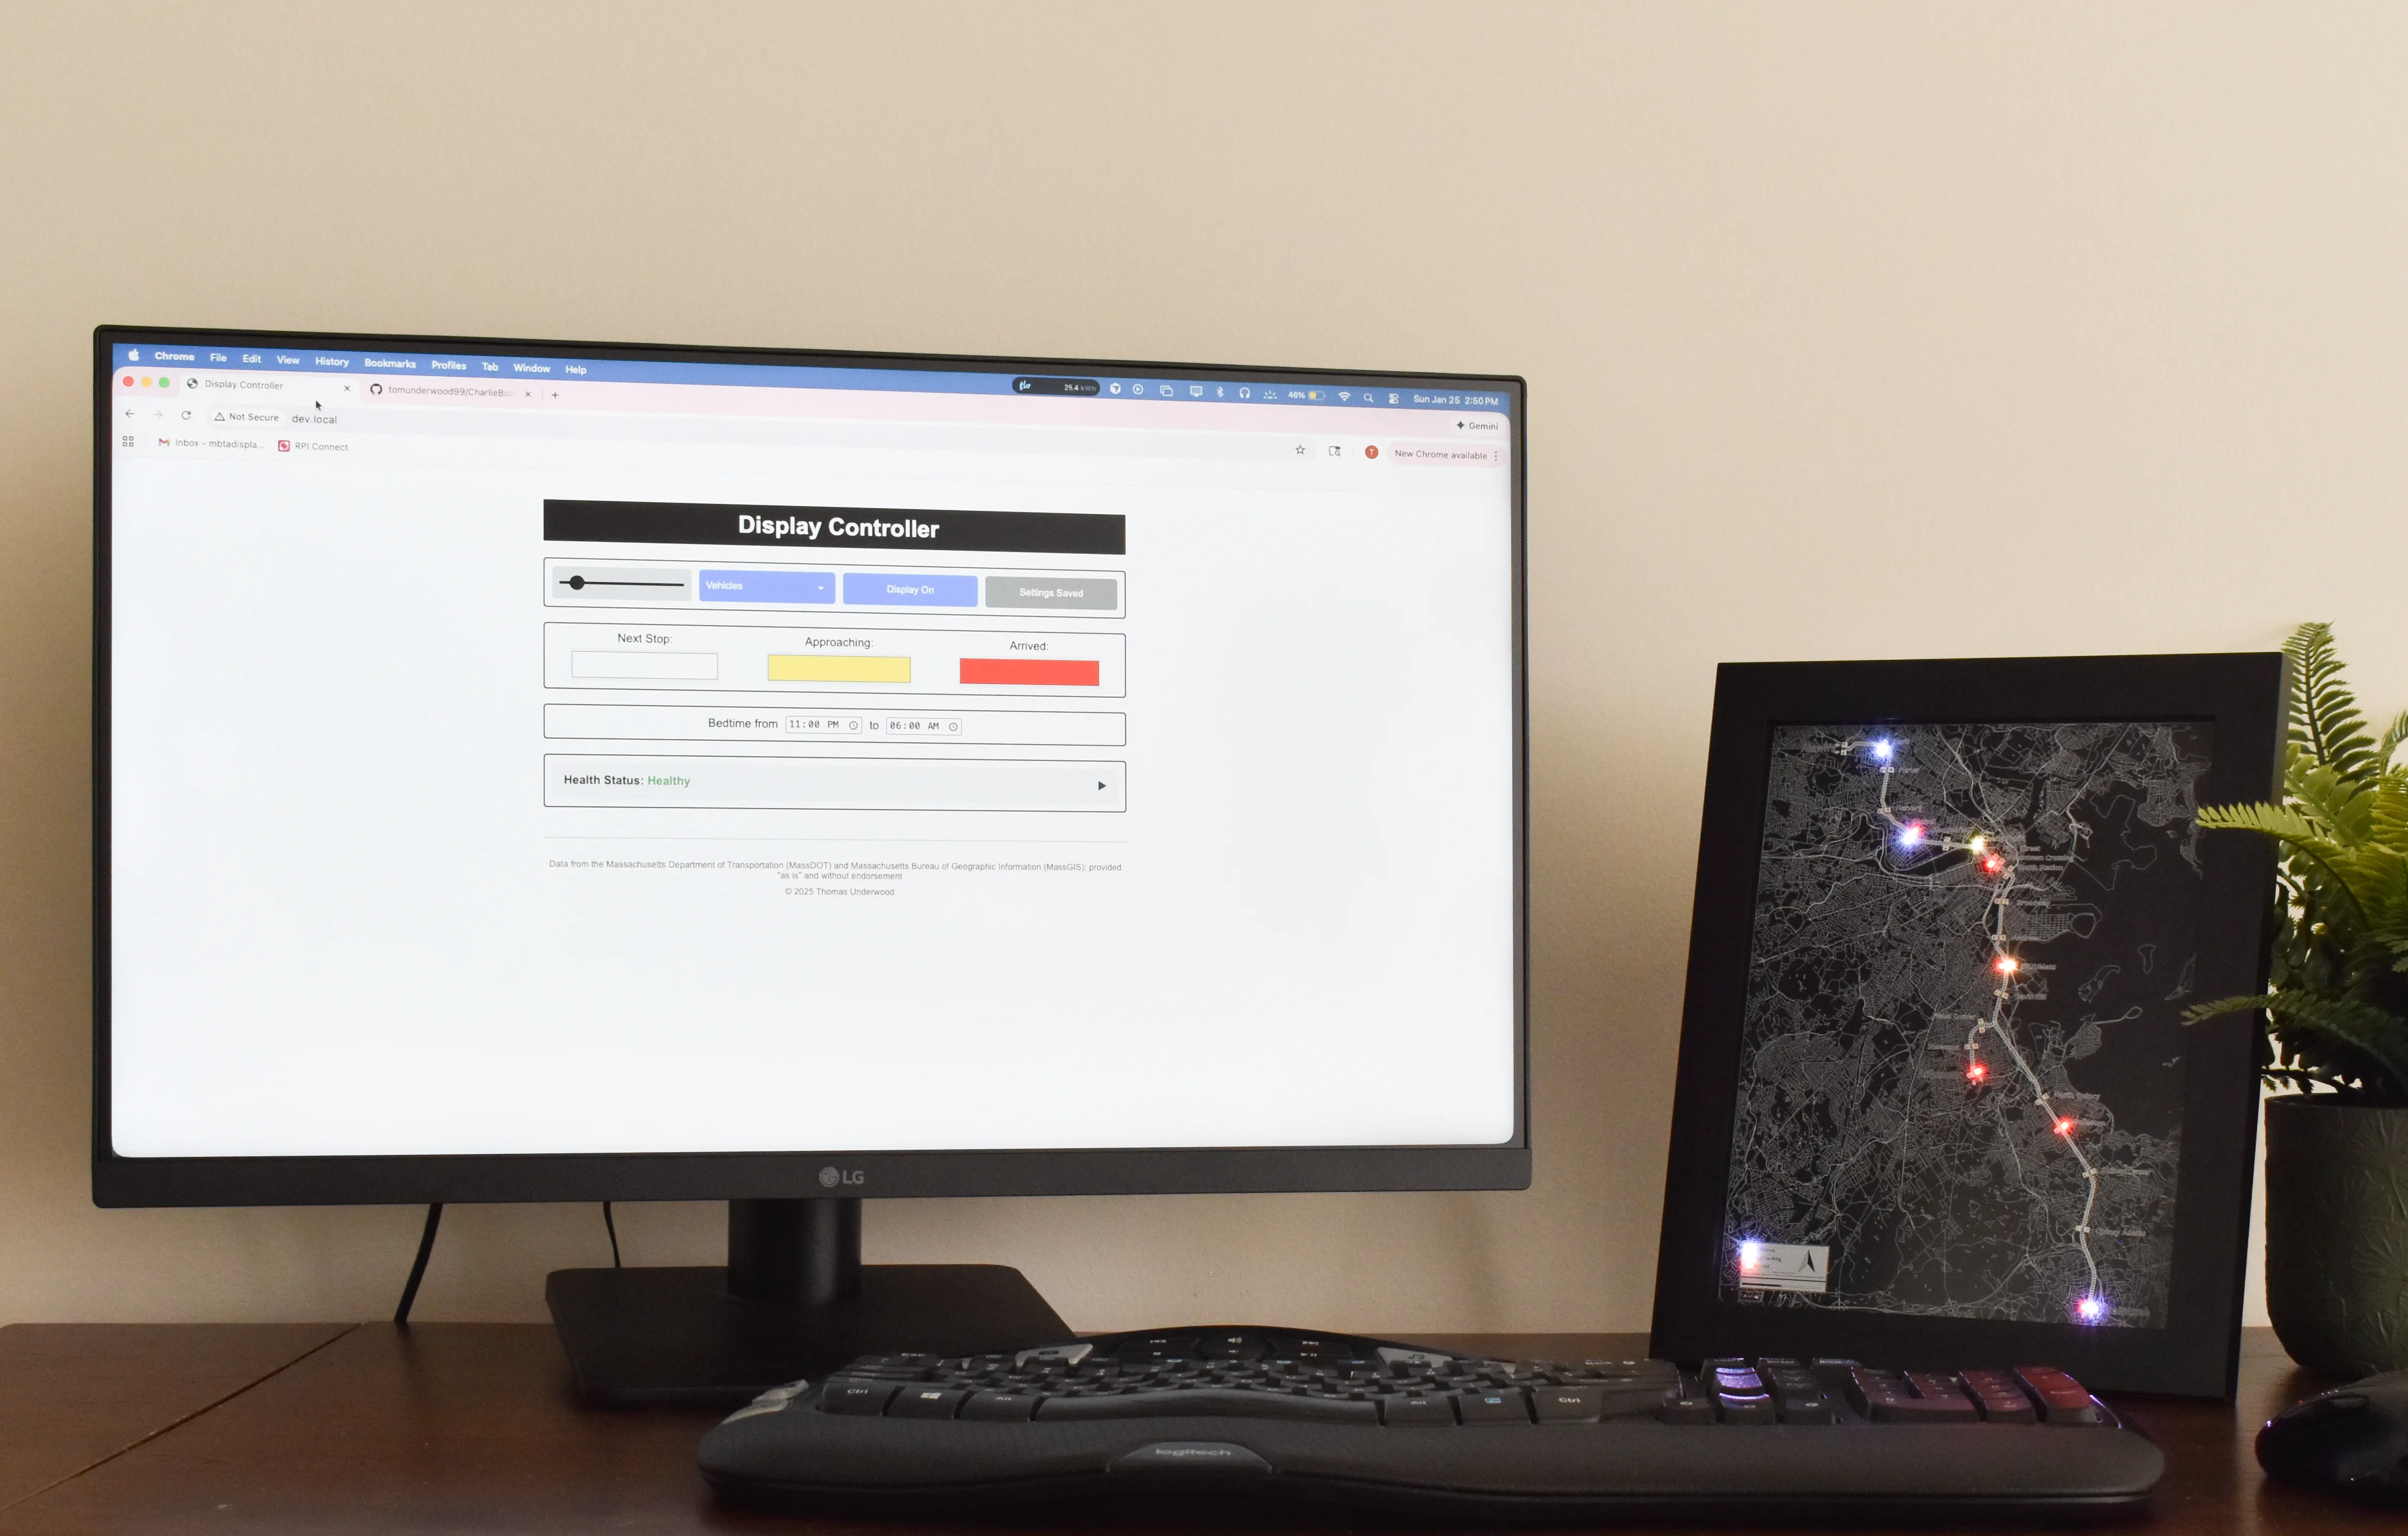
I did not plan to use a Pi when I started this project, but that is part of what makes building things interesting. Sometimes a constraint pushes you in a better direction that you wouldn't have taken otherwise.